Welcome
Hi, I'm Ameer, a GPU and Systems Programming specialist with a passion for Computer Graphics, High-Performance Computing, and System Optimization.
I hold both a B.S. and M.S. in Computer Science from Drexel University, where I focused on Computer Graphics, Software Engineering, and advanced topics including AI, Operating Systems, Systems Architecture, and User Interfaces.
Professionally, I've worked with industry leaders such as AMD and Intel, where I contributed to pre-silicon and post-silicon bringup and validation, optimizing GPU graphics drivers, and enhancing performance-critical applications.
In the open-source community, I was a maintainer of the Nintendo Switch emulator yuzu, where I was heavily involved in improving GPU emulation speed and accuracy, and collaborated on projects such as the Shader Decompiler Rewrite and Texture Resolution Scaling.
This portfolio highlights the projects and contributions that define my journey as an engineer—from academic and professional endeavors to open-source collaborations and personal innovations.
Programming Languages
- C++ 20
- CMake
- C#
- GLSL, HLSL
- Go
- Java
- JavaScript
- Python
Technical Concepts
- 2D/3D Graphics
- Concurrency/Parallelism
- Data Structures and Algorithms
- GPU Programming
- Operating Systems
- Object-Oriented Programming
- Systems Architecture
Tools & API's
- Git, Perforce
- D3D12, Vulkan
- OpenGL
- MS Visual Studio
- Nsight Graphics
- Renderdoc, PIX
- Unity game engine
- WinDbg
yuzu Emulator Contributions
yuzu was an ambitious open-source Nintendo Switch emulator, allowing users to play their dumped games on the PC, with extra convenience and functionality that the Nintendo Switch system is unable to provide.
Unfortunately, In early 2024, the yuzu project was suddenly and unexpectedly shut down. So the sources and links will be to mirrors of the project, since the original site and repository is no longer available.
Below are some of the notable contributions I've made to the project.
A list of most contributions authored by me can be found here.
This project was a 6-month collaborative effort with two other yuzu developers to rewrite and re-engineer the Shader Decompiler in yuzu. The Shader Decompiler is responsible for converting the shader code that is compiled to execute on the Nintendo Switch Maxwell GPU to shader code that can execute on the Host (user's PC) GPU.
This project went on to be used by a number of other emulators and projects with shader ISA decompilation needs, notably:
shadPS4 - A PlayStation 4 emulator
strato - Another Nintendo Switch emulator for Android
Simplifying a bit, the shader decompilation process involves interpreting the binary Maxwell ISA instructions. Creating an Intermediate Representation (IR) of each instruction's behavior, that then gets converted into the high level Host shader code (GLSL/SPIR-V/GLASM).
The motivation for the rewrite was to ultimately decouple and simplify the architecture of the decompilation related code. There were countless bugs that were very difficult to solve by modifying the older decompiler due to a lack of foresight during the original decompiler's inception and development.
Implementing each instruction was a grueling process, as it involved creating unit tests that ran on the Nintendo Switch hardware in order to reverse engineer each instruction's behavior and find edge cases. For the Host shader code, we began by emitting SPIR-V using a library developed by one of the yuzu developers . I implemented most of the ALU instructions for integer, float, and double data types. I then implemented many of the warp instructions, and implemented all arithmetic and image atomic instructions.
We were hoping that SPIR-V would be the only shader backend we needed to implement, as it has support in OpenGL as well as Vulkan. However, NVIDIA GPUs do not effectively support SPIR-V on OpenGL, so began our quest to implement OpenGL specific shader backends. Beginning with GLASM. I reimplemented all instructions I implemented into SPIR-V for GLASM.
While the other two developers were ramping up testing for GLASM and SPIR-V, I independently implemented every supported Maxwell instruction and shader type in the GLSL backend.
This became the largest project in yuzu's history, and was very much worth the effort and the time to meticulously implement shaders that emulate the hardware instructions far more accurately than ever before.
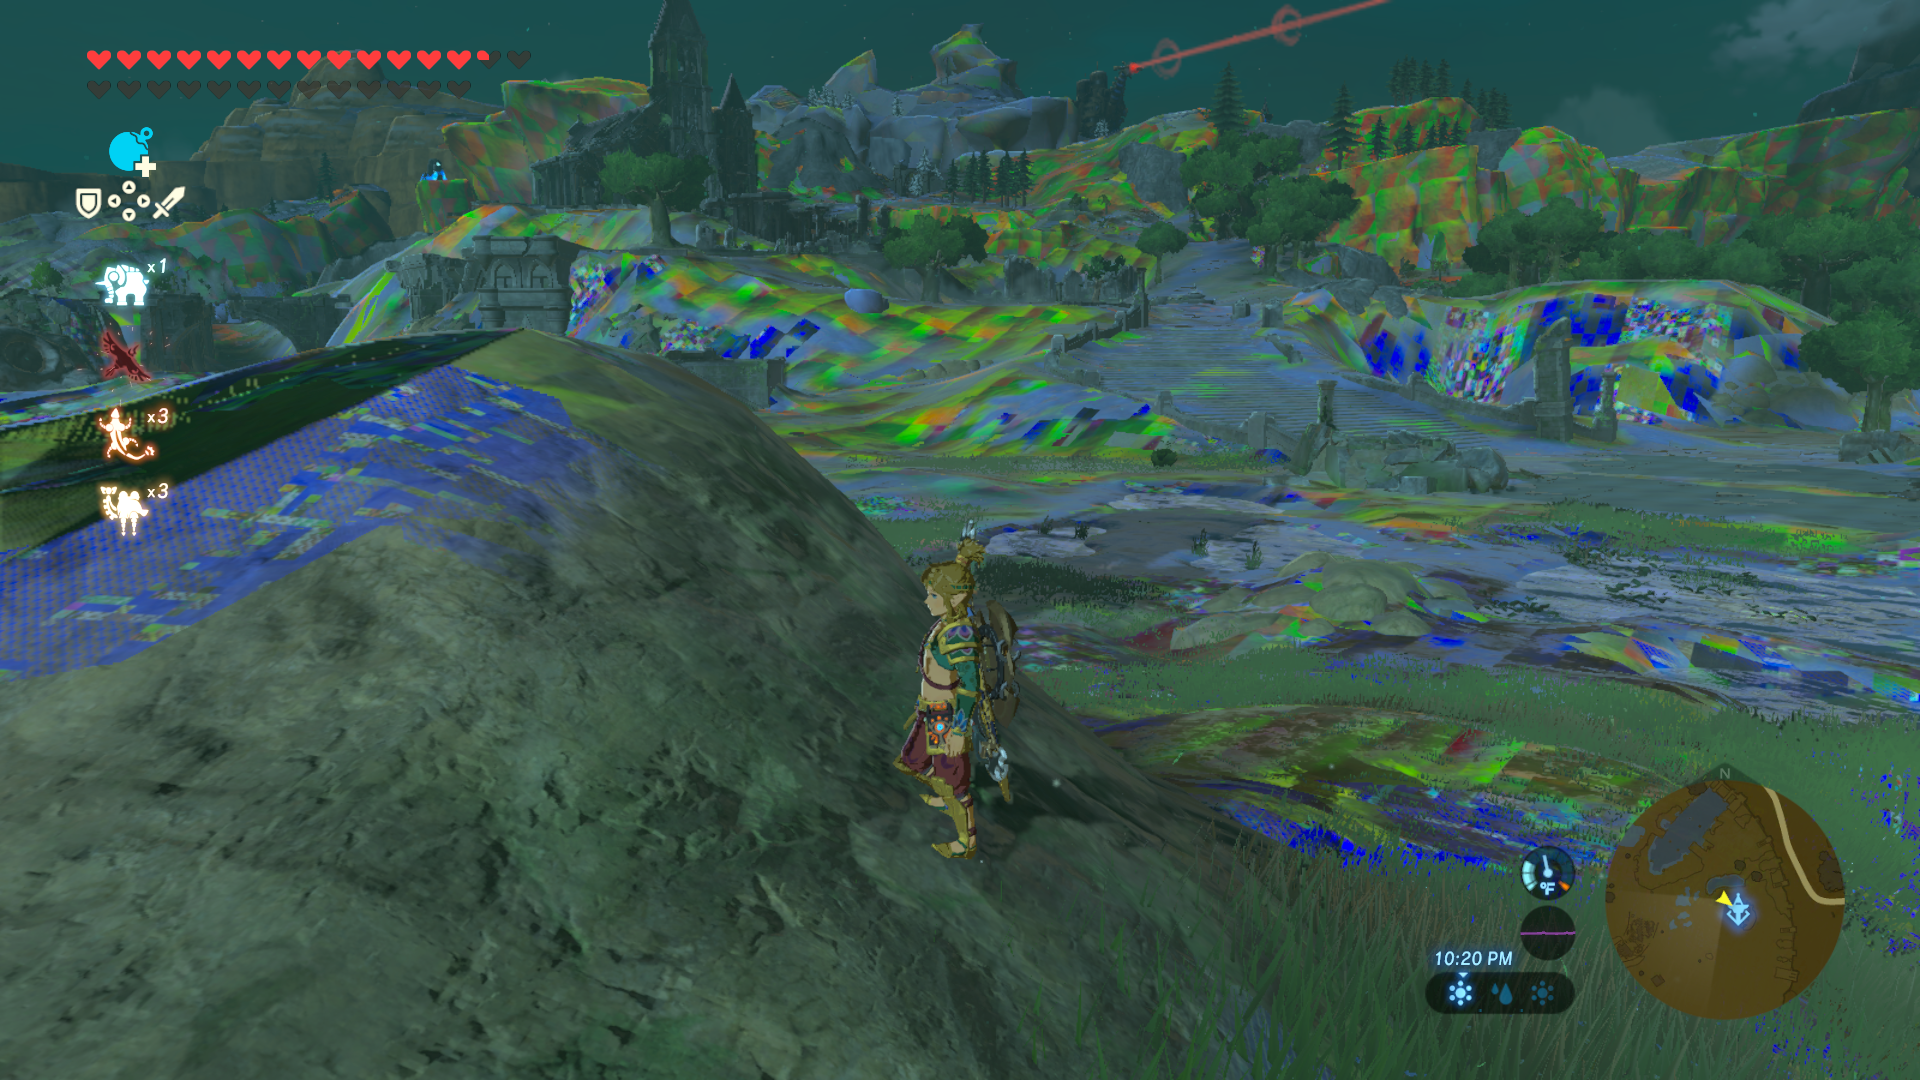
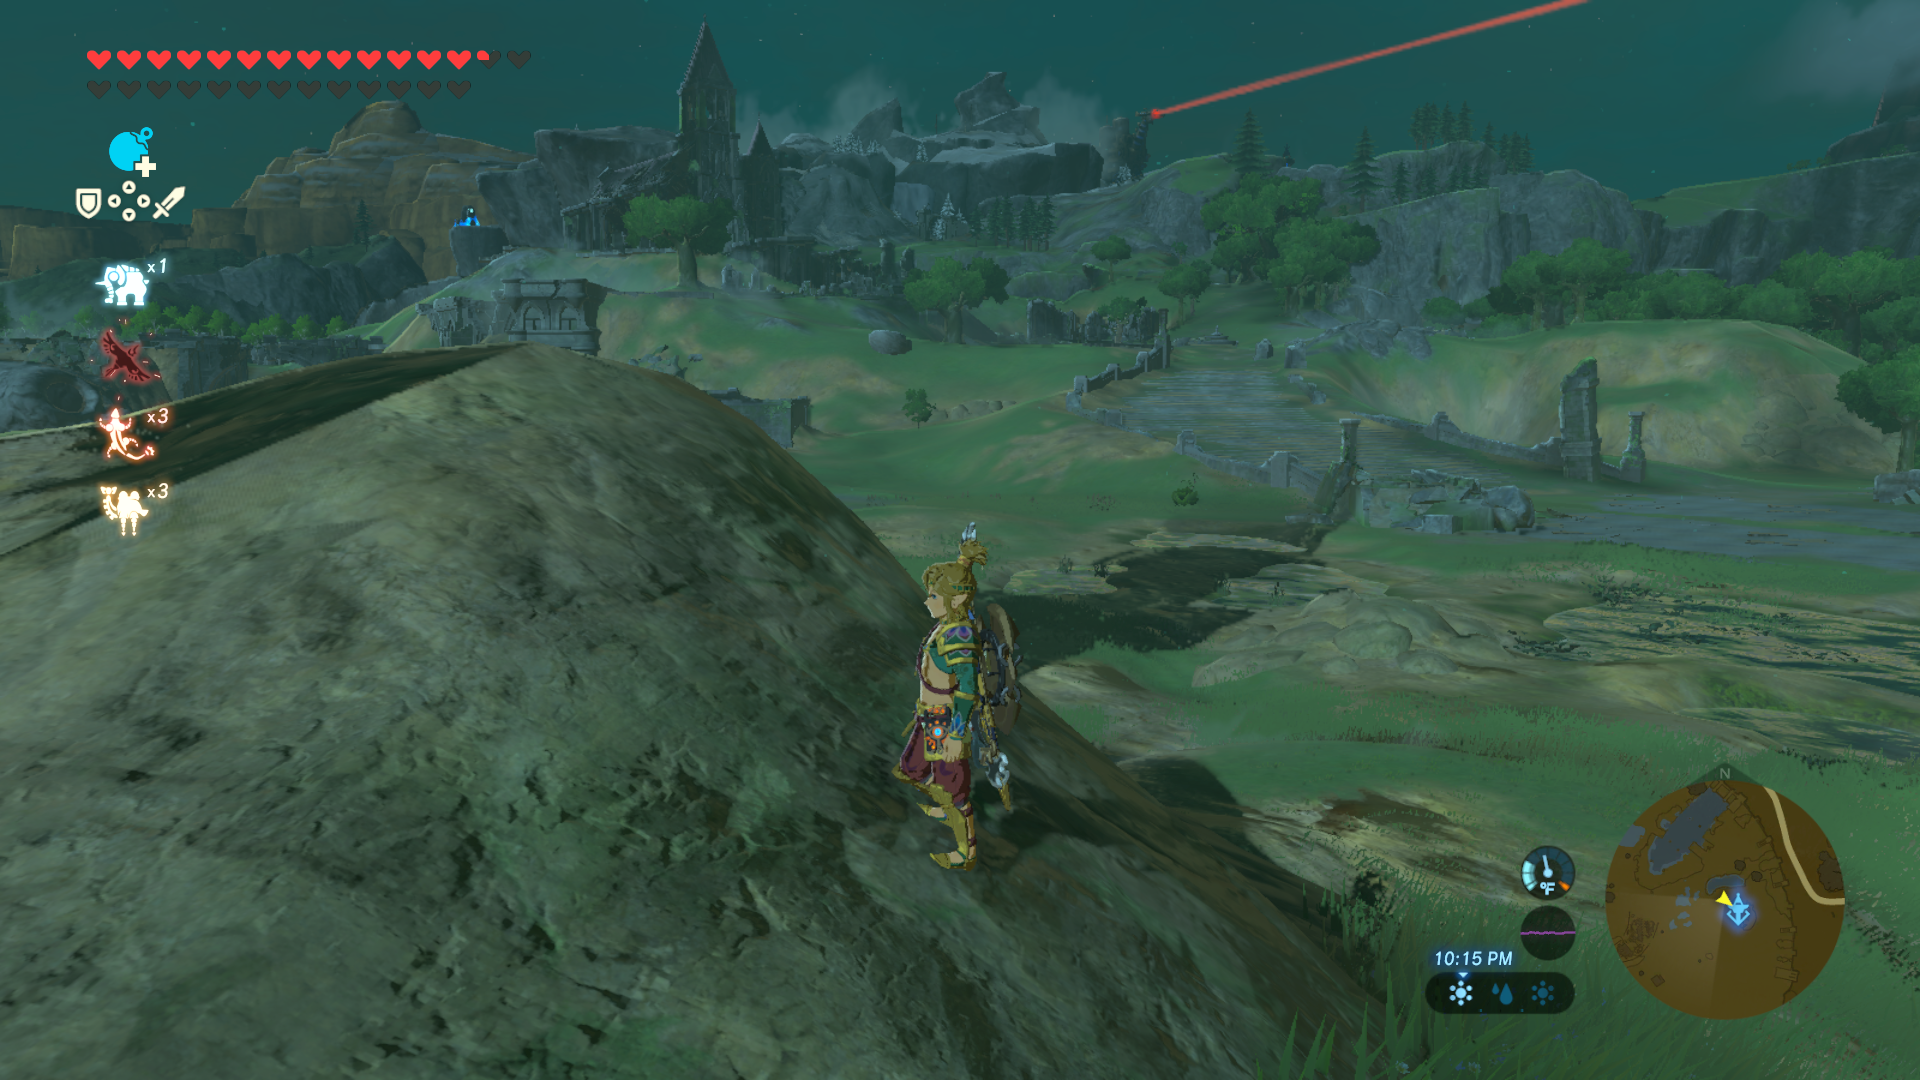
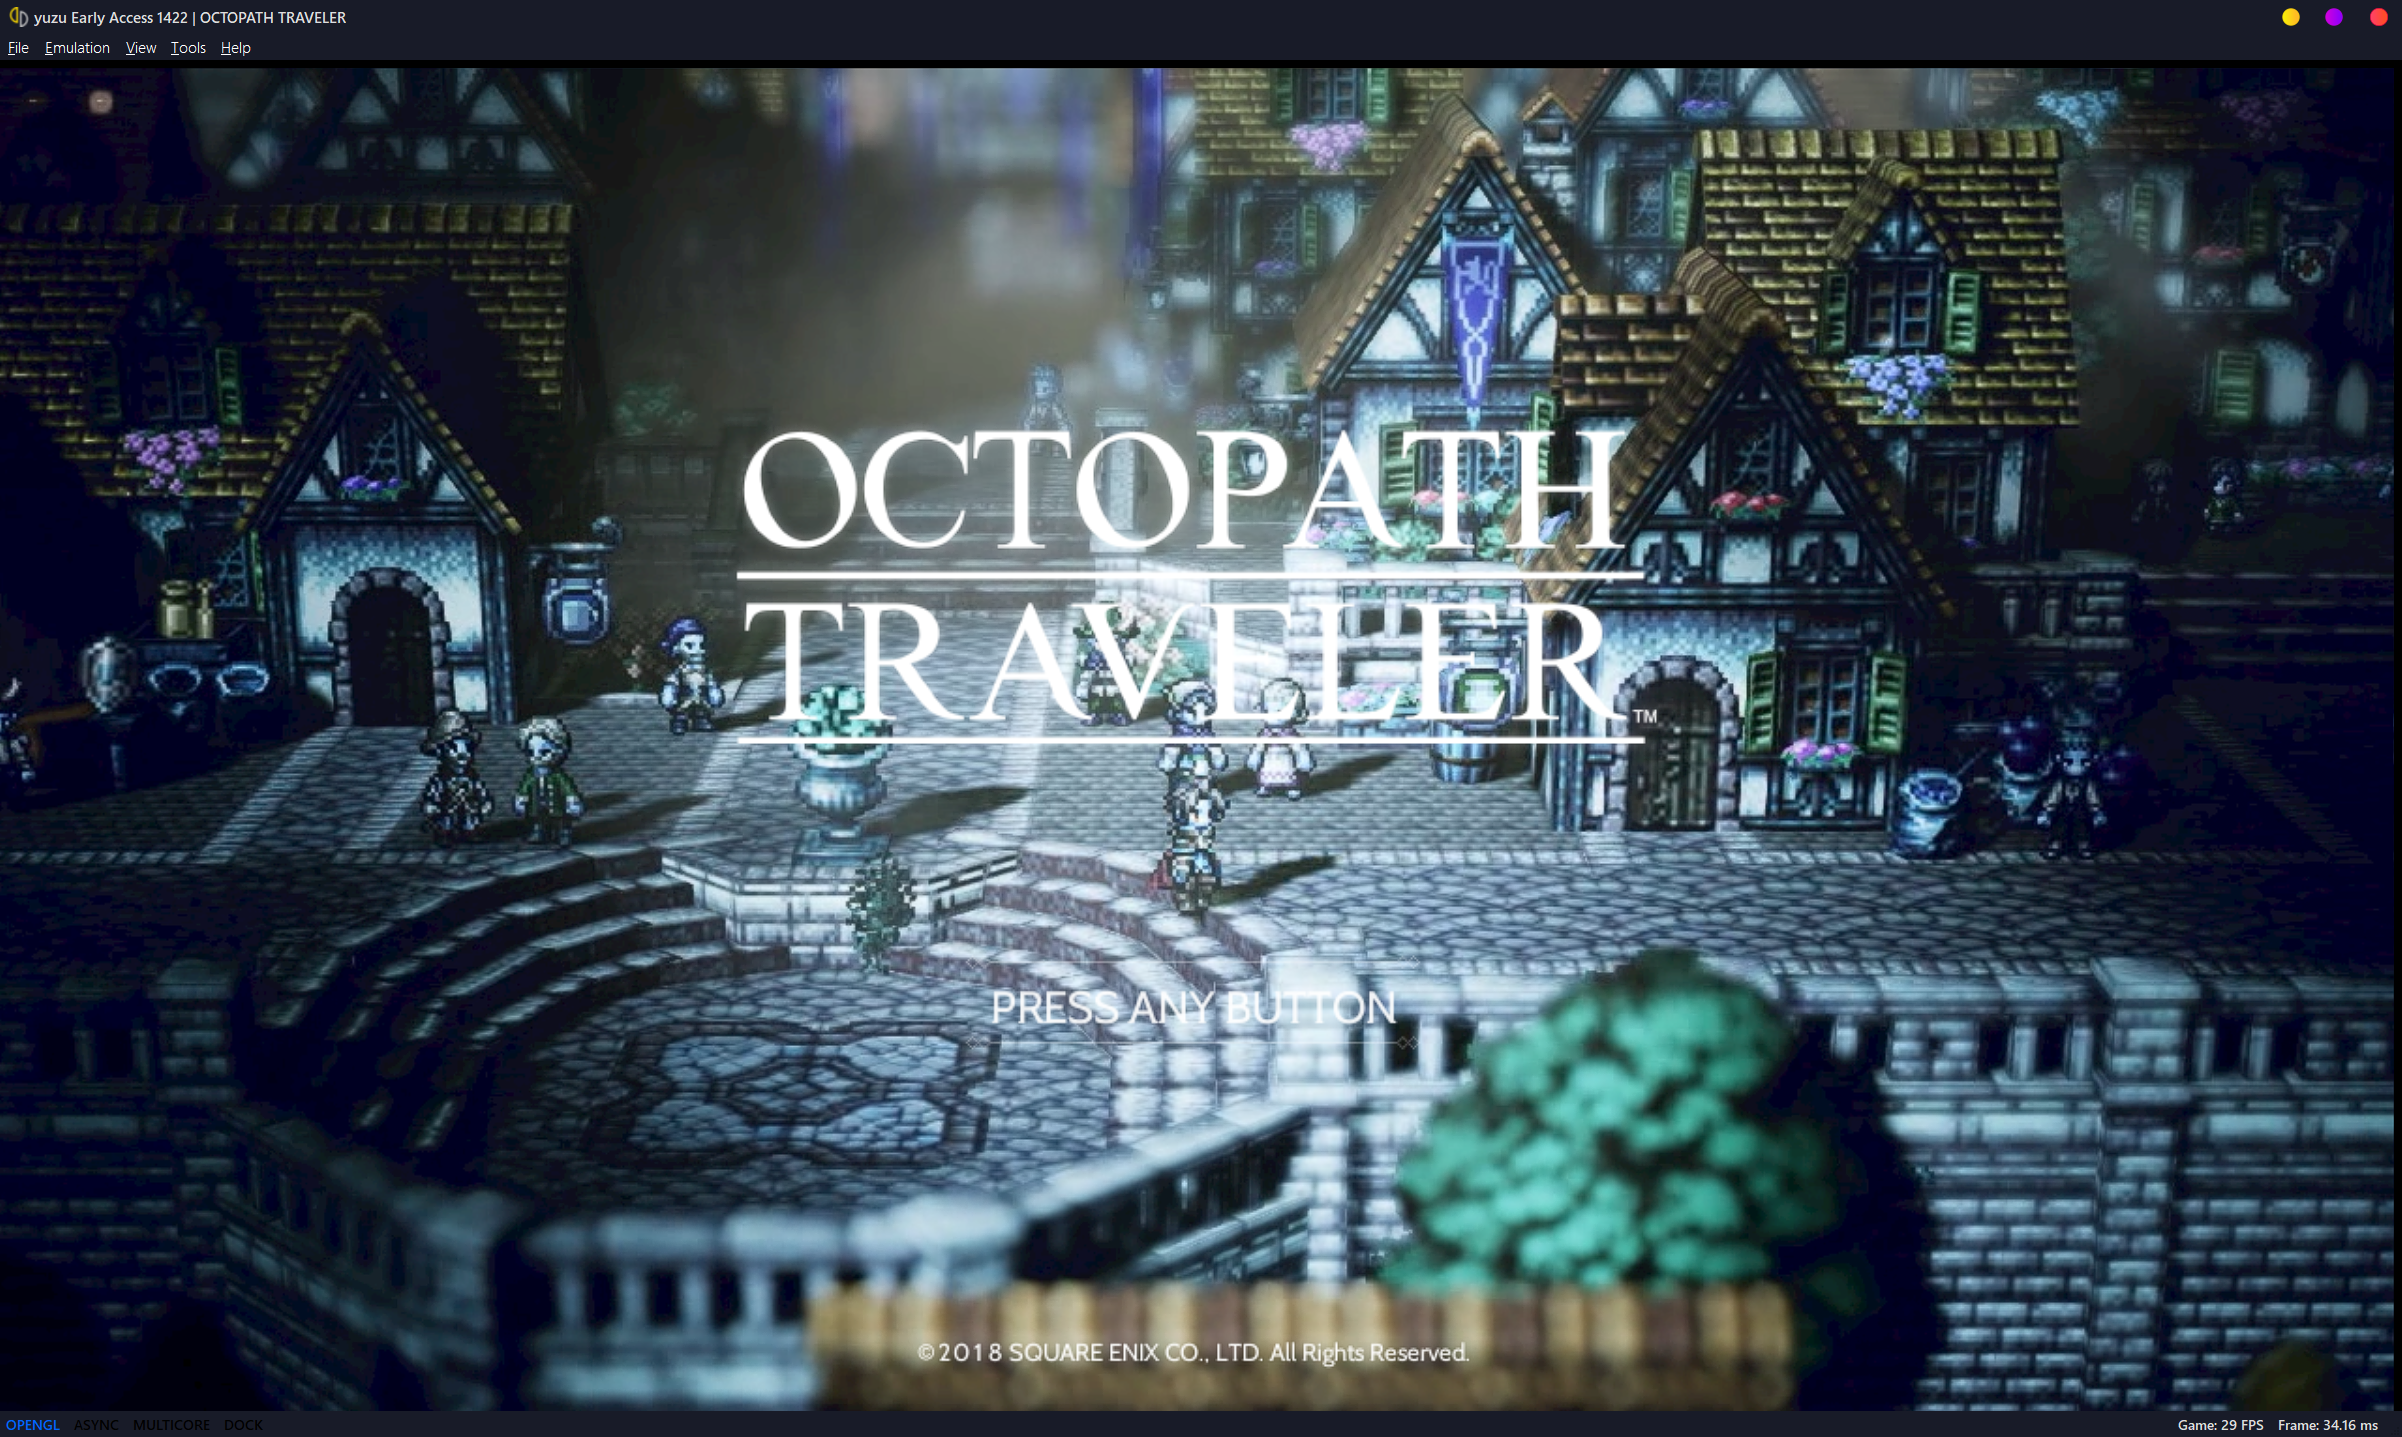
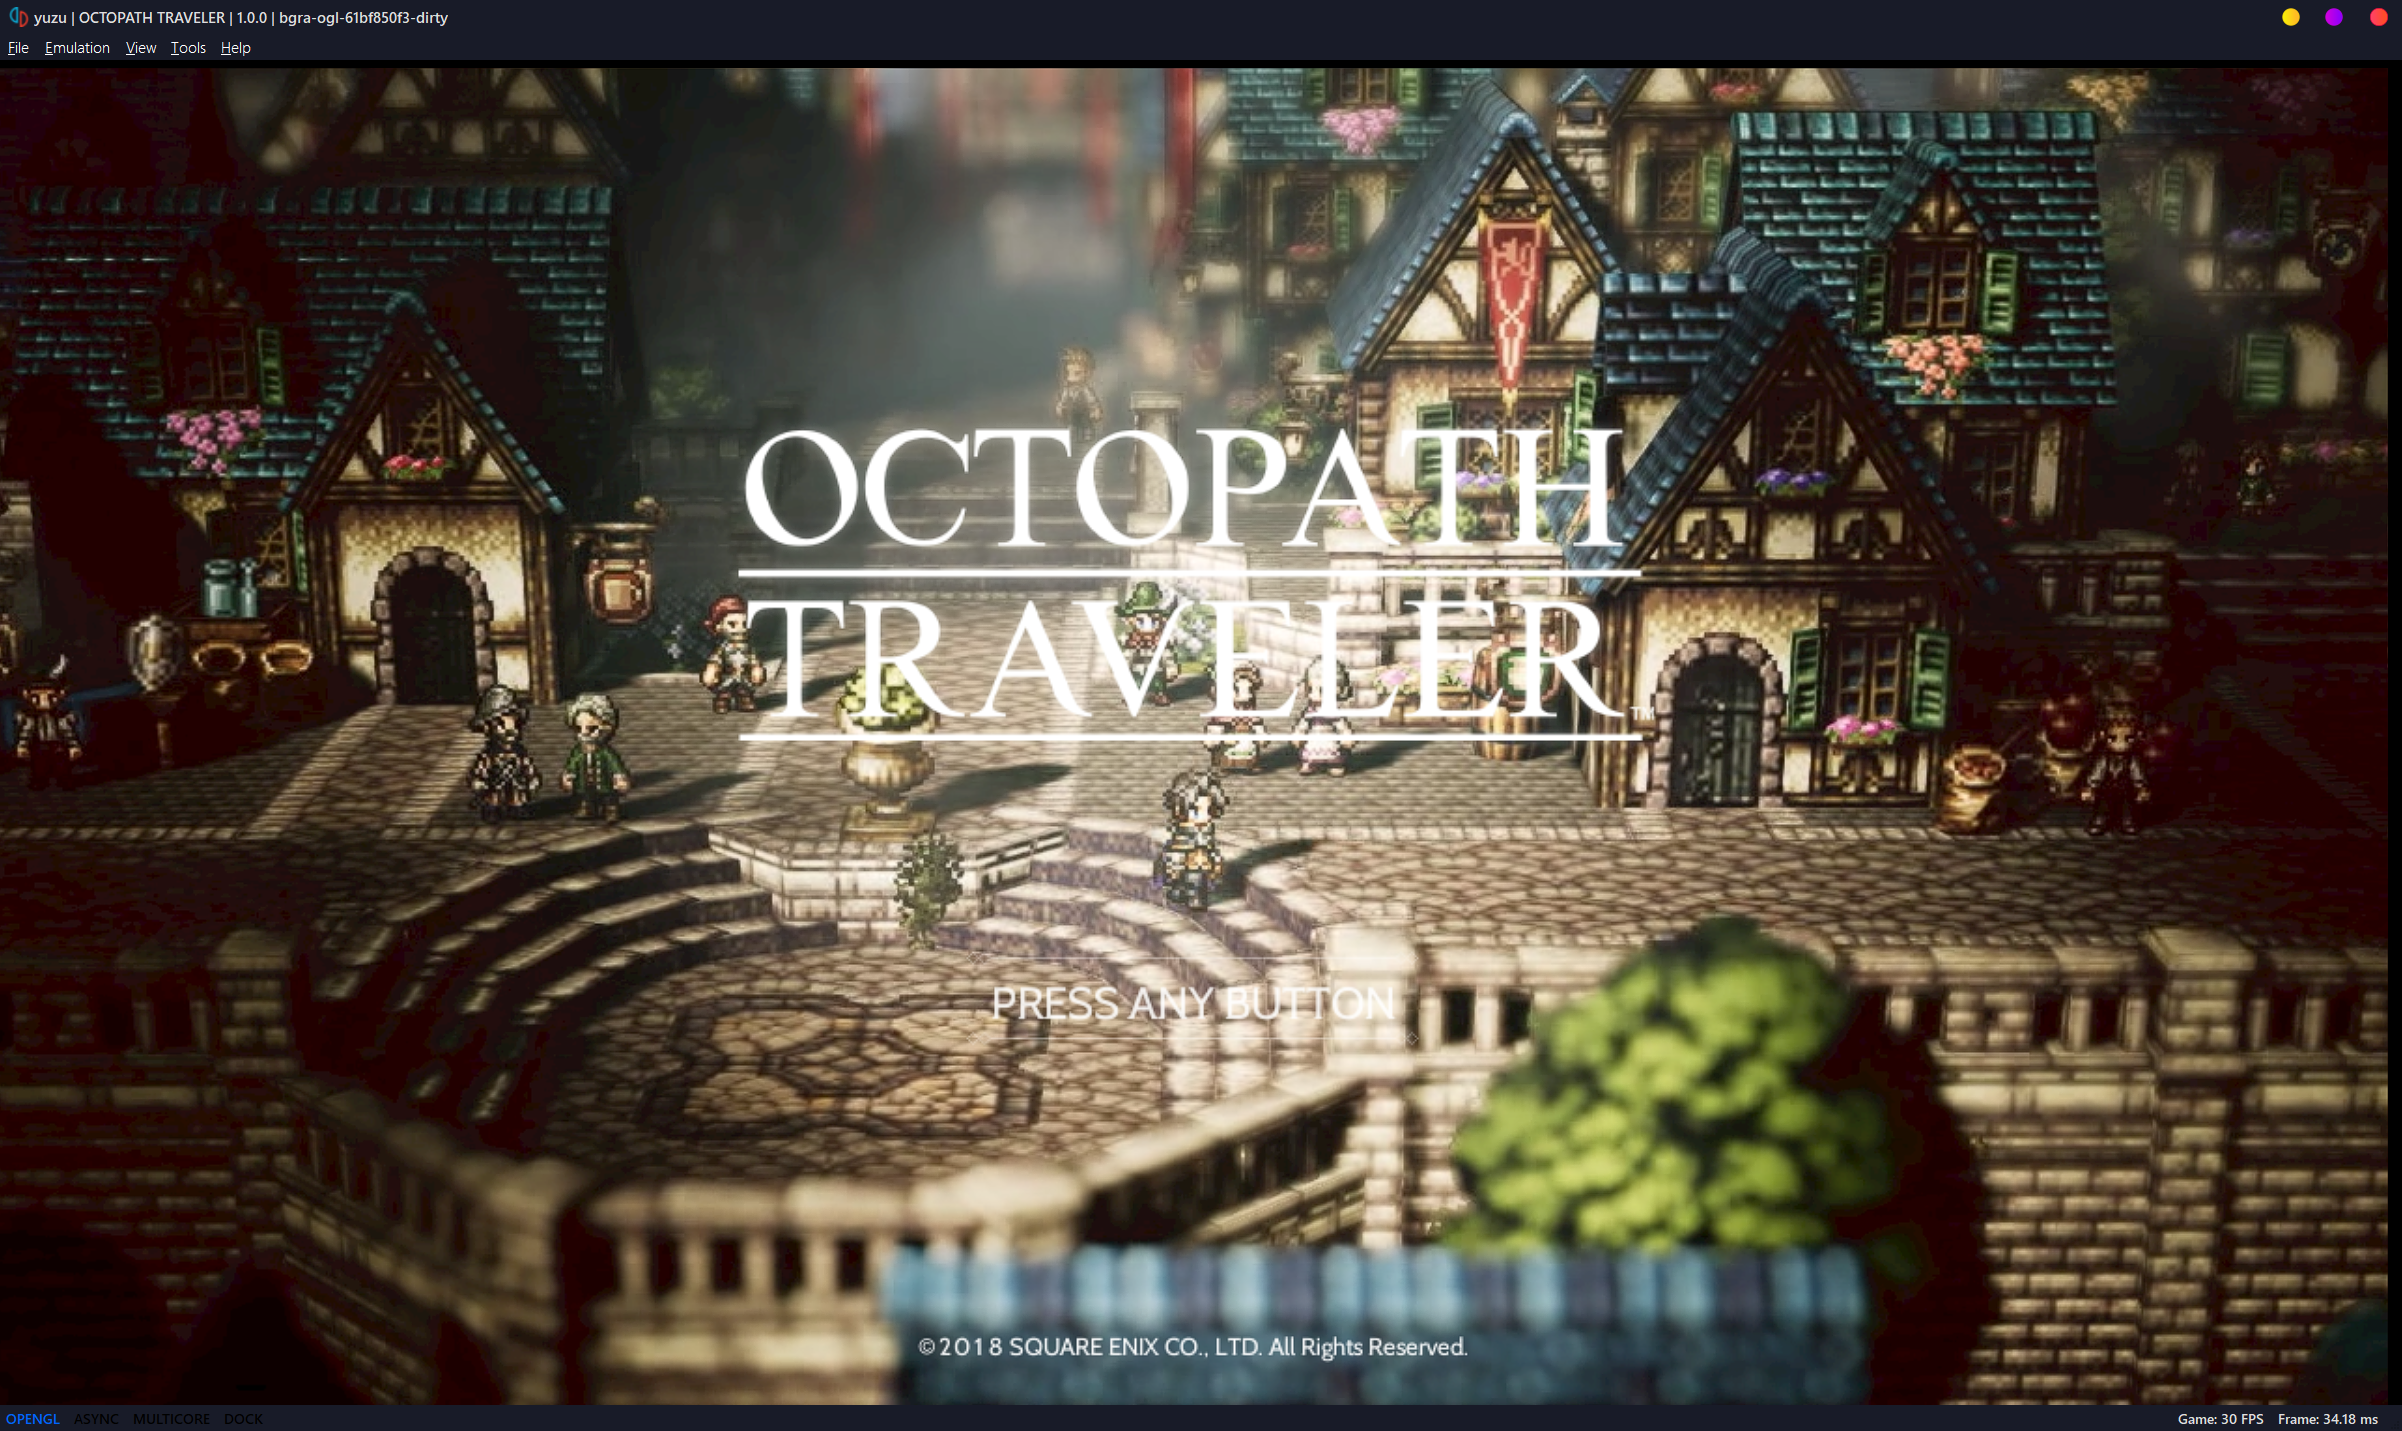
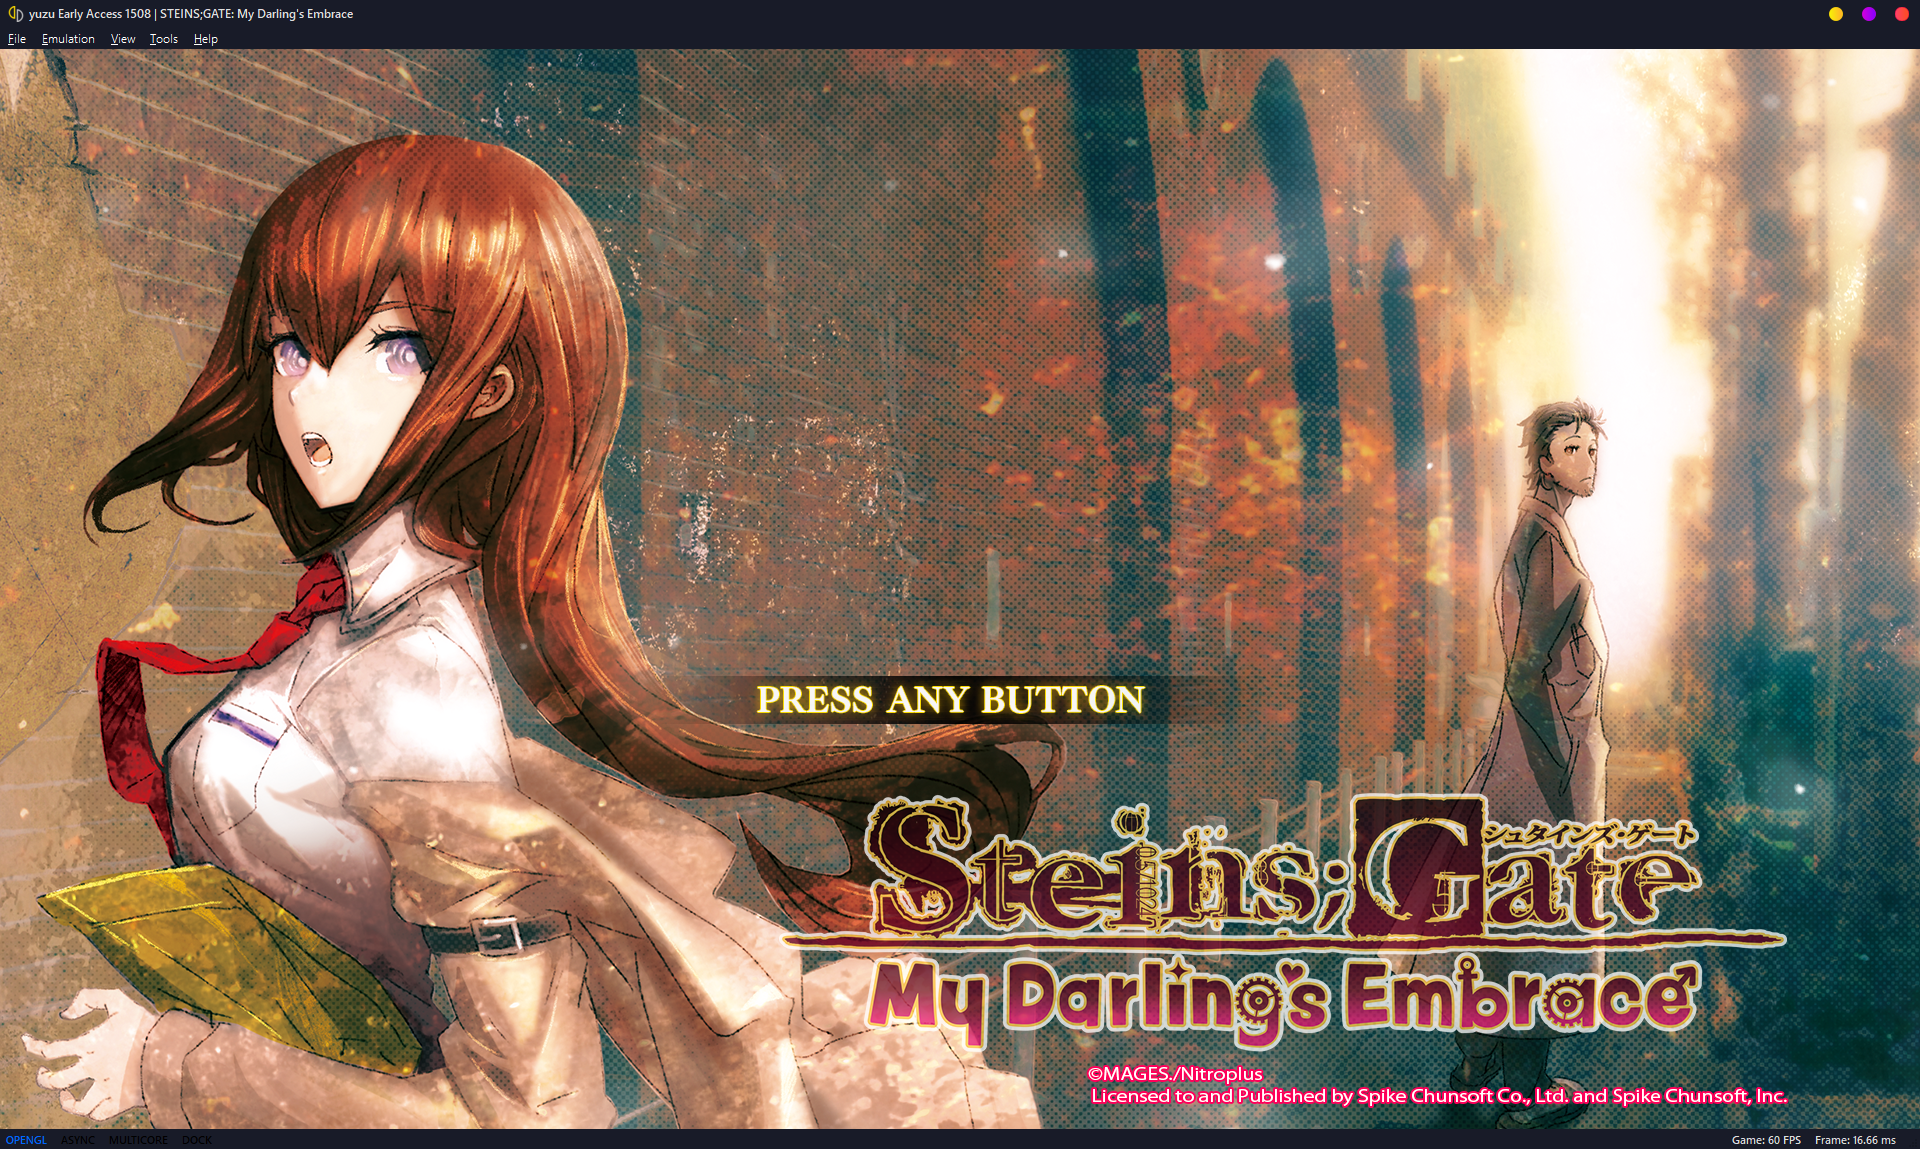
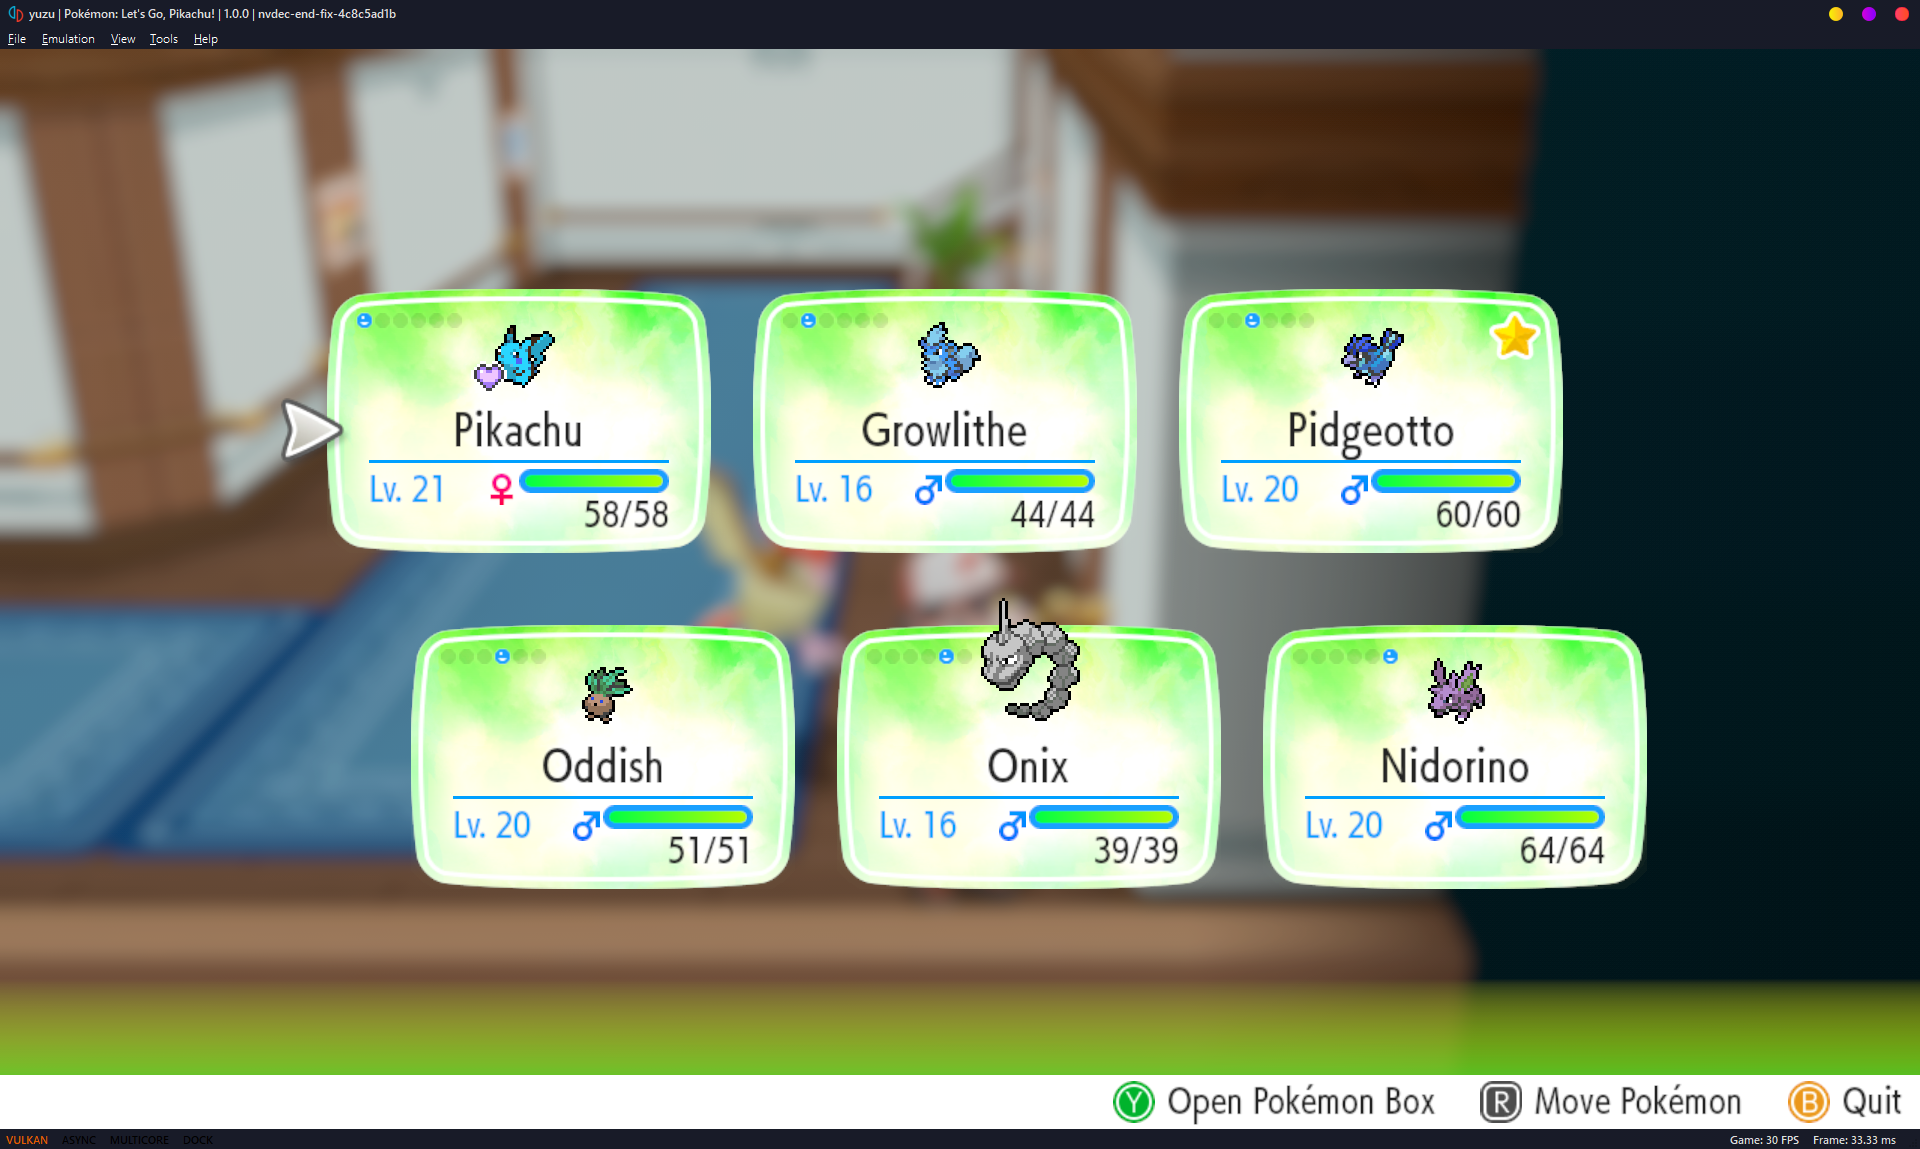
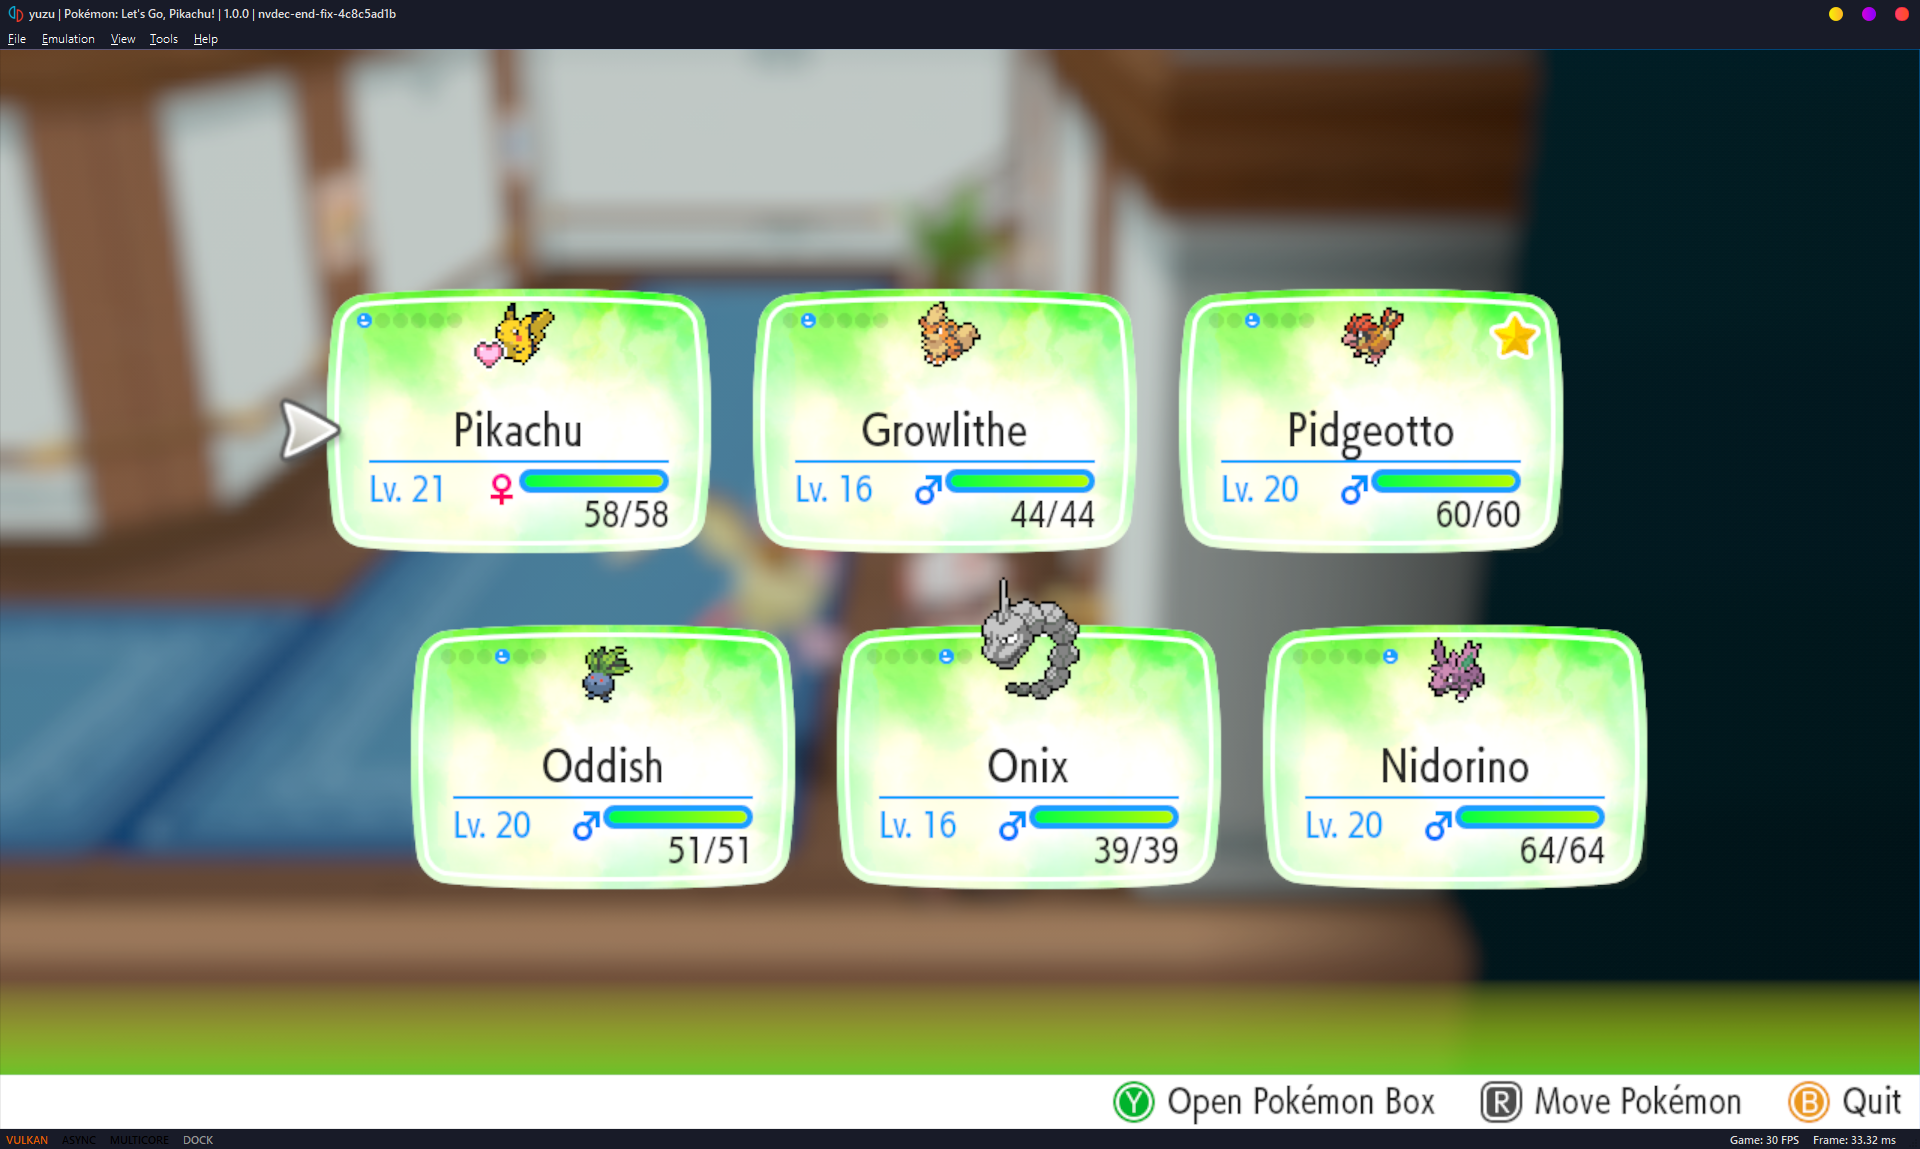
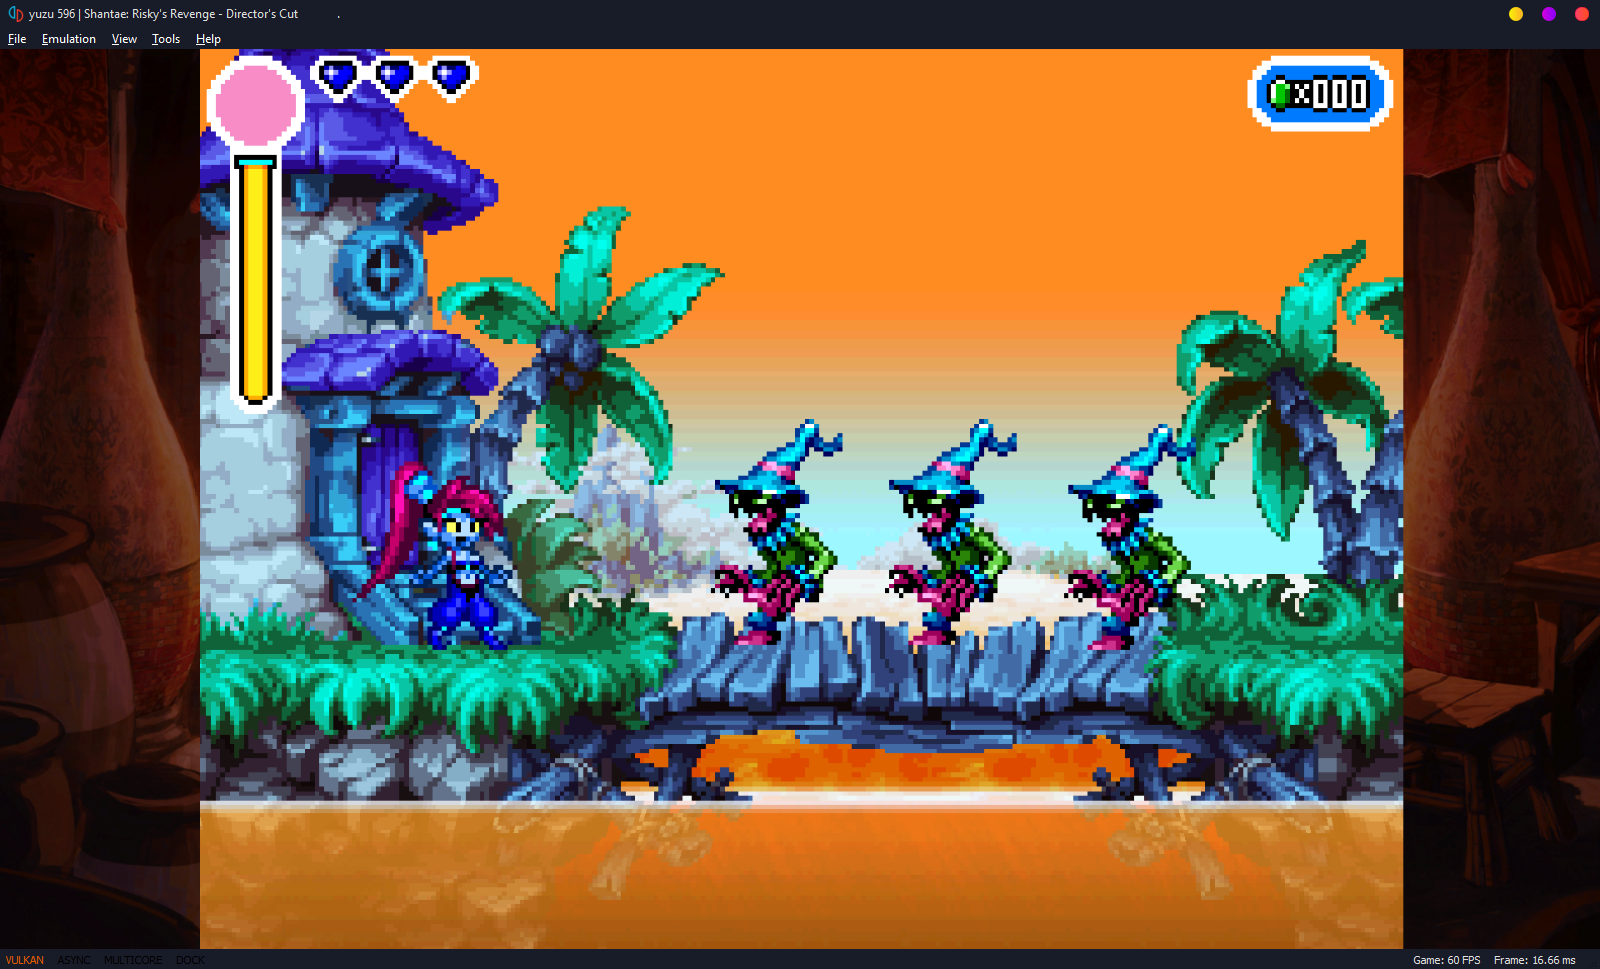
Some Before and After Comparisons
And countless, countless, other rendering related fixes.
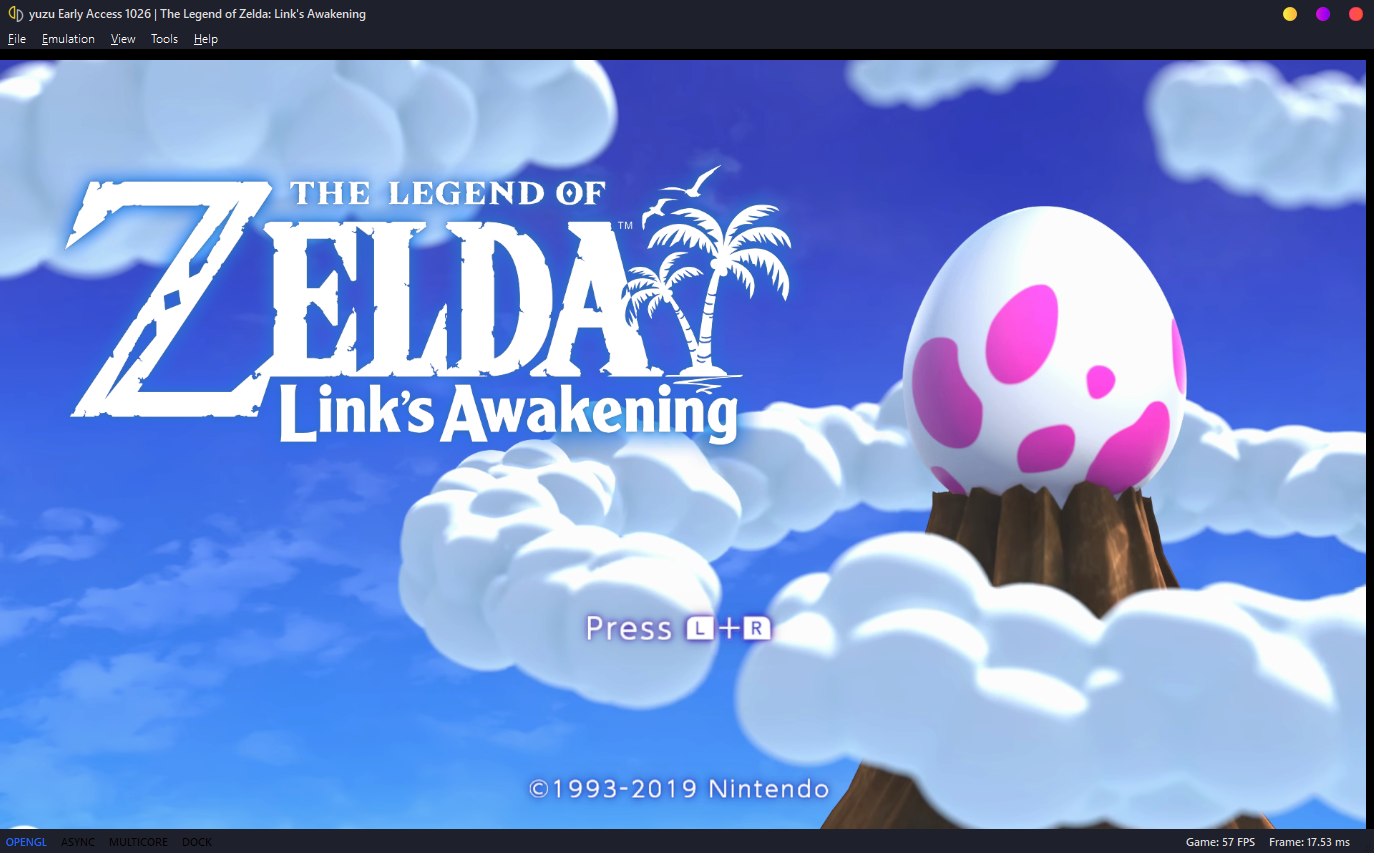
This was by far one of the most interesting and demanding projects I've ever embarked on. I took on the effort to decode the encoded video streams found within the emulated software, mimicking the Nintendo Switch hardware's NVDEC (Nvidia Video Decoder) and VIC (Video Image Compositor) capabilities. This involved researching how the Tegra X1, the SOC found in the Switch, receives the video-related commands, how it manages the memory related to the video data, and separately, how to compose the headers of the H.264 and VP9 video streams from the meta data provided in order to decode the video frames using FFmpeg's libavcodec.
I built on a previous attempt at implementing the NVDEC emulation within yuzu. I had to resolve many inaccuracies in the X1 component communication and memory management. There were also many crashes and instabilities caused by the implementation which I investigated and resolved, many ended up being buffer overruns and improper frame dimensions being used. H.264 headers were properly constructed and decoded, but VP9 was not.
Much of my effort was spent on understanding the VP9 codec and the composition of its headers using the incomplete meta data provided alongside the video frame data. I spent many hours studying the VP9 bitstream specification and analyzing VP9 videos frame-by-frame to be able to formulate the solution to decoding VP9 video streams. Below are some examples of the progression of the VP9 decoding effort.
The Legend of Zelda: Link's Awakening
Super Smash Bros. Ultimate
Epilepsy Warning: Top 3 videos contain flashing frames
Key-frame decoding
Proper Motion Vector/Compressed Headers
Proper frame references
(hidden frames displayed)
Proper VP9 video decoding
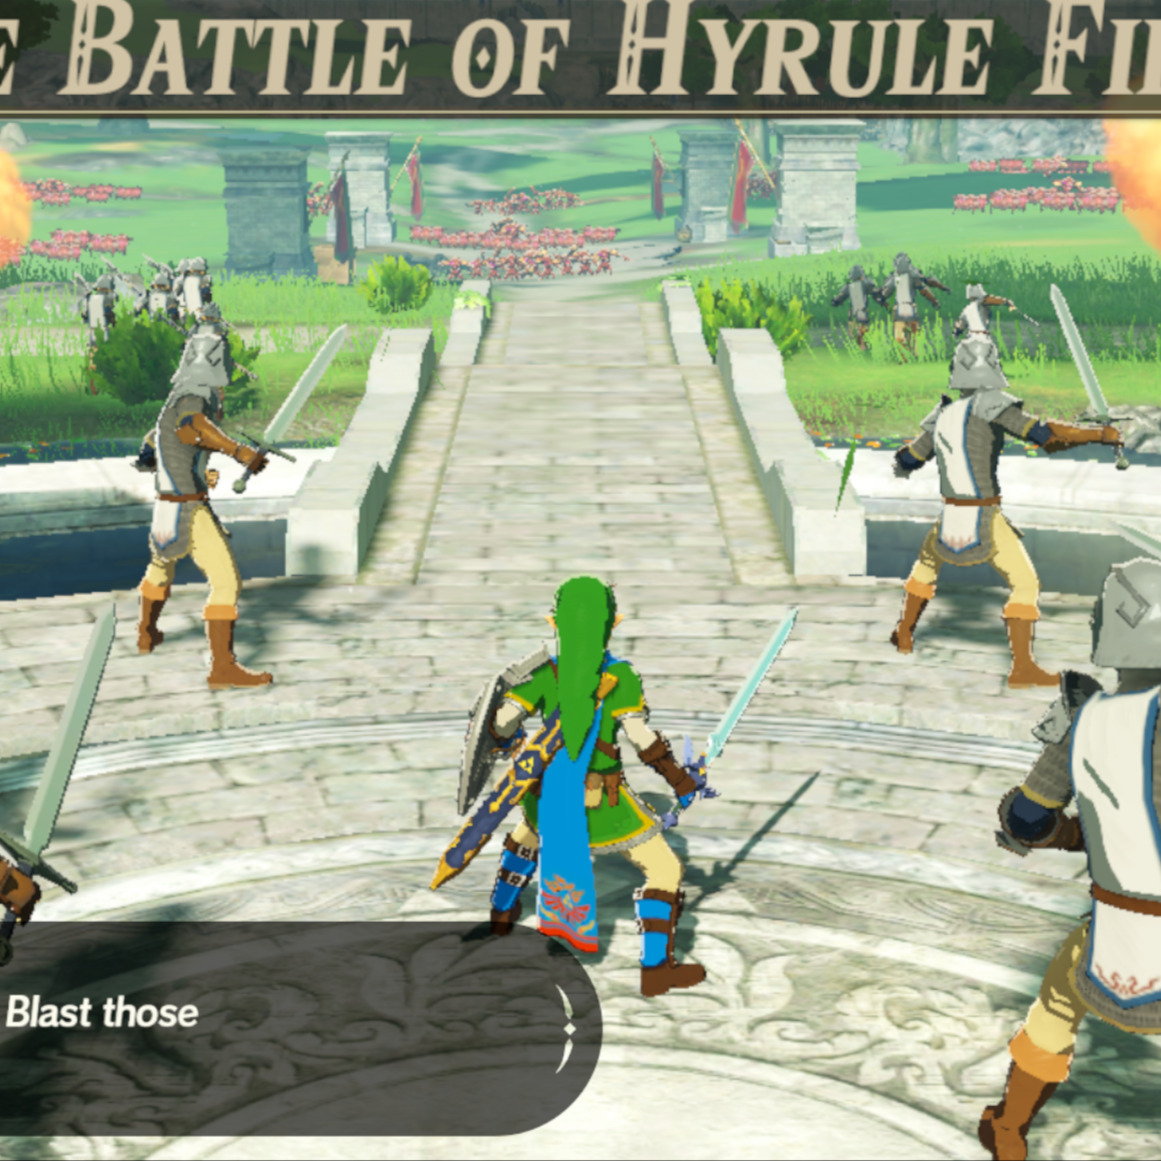
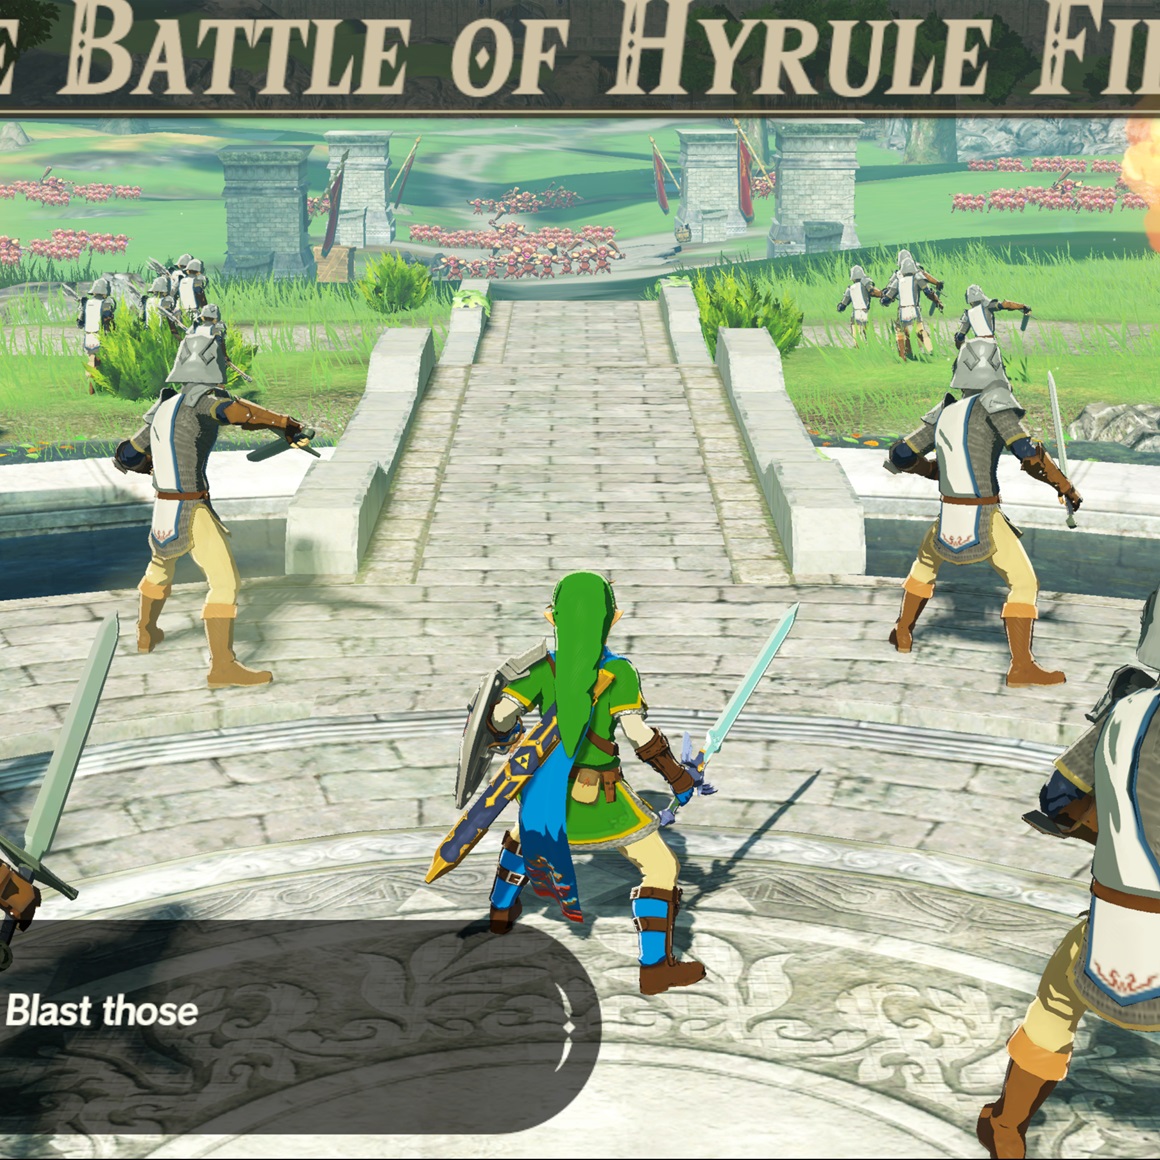
This project was a collaborative effort with another yuzu developer to implement Resolution Scaling. This allows users to render games at a higher (or even lower) resolution than the native resolution of the game.
For example, many games run at a native 720p resolution on the Nintendo Switch, but with the resolution scaling feature, users can render the game at 1080p, 4K, or resolutions beyond if they have capable hardware. This feature is not only useful for users with high resolution displays, as it can be used as an Anti-Aliasing method to clarify the image quality of games.
At a high level, the implementation involves scaling the framebuffer size of the rendertargets that a game would render to. And to increase the fidelity of the textures used by the game, we would scale these textures using a texture blit. For this to work, it required updating all texture operations in the shaders to use scaled texture coordinates as well.
For how simple (in theory) this was, it worked surprisingly well for most games. Some games and textures had issues with scaling, and we had to blacklist some texture types from being scaled.
But for the most part, most games were significantly improved with this feature, and it was very well received by the community.
Below are some examples of the feature in action:
The Adaptive Scalable Texture Compression (ASTC) compressed texture format is a mobile targeted texture format with the goal of providing flexibility for the user to have control over the space/quality tradeoff. Being that it is targeted for mobile applications, desktop GPU's lack native support to decode the format (save for Intel GPU's) and as a result require a software fallback to decode ASTC textures.
yuzu had an existing software decoder, however, it was a single threaded solution, and placed a halting load on the video-emulation thread whenever an ASTC texture was encountered. The decoding algorithm is embarrassingly parallel, with chunks of 16-bytes having all the encoded data for a block of pixels, independent of any other block. But the tradeoff of using precious CPU resources when they can be better spent emulating the rest of the system meant that the sacrifice was not worth parallelizinig on the CPU. Enter Compute Shaders.
Offloading the decoding work to the GPU made complete sense, after all, it is the Switch's GPU that handles decoding this format. The use of compute threads allows for an intuitive implementation of parallel tasks on the GPU. The work for decoding a single ASTC texture format on the GPU involves just a few intuitive steps:
- Map the textures data to a GPU accessible buffer
- Determine the number of blocks that are encoded by the texture
- Dispatch as many threads as there are blocks, allowing each thread to run the decoding algorithm on the block independently
- Write the decoded result to the output image, which will be displayed onscreen
Beside the obvious benefits of freeing the CPU from the load of decoding the textures, and having multiple GPU threads asynchronously decode the texture in parallel, there was another added performance benefit. The texture no longer needed to be downloaded onto CPU memory to be decoded, then reuploaded to the GPU after the final image is decoded. Memory transactions between the CPU and GPU, especially for large textures, can be costly. But with the compute shader implementation, the texture data remains on the GPU throughout the entire process.
Ultimately, the work to implement and debug a ~1500 line compute shader paid off tremendously. Many games that make extensive use benefited greatly, and even titles with conservative use of ASTC seeing a nice boost in performance. Below are some comparisons:
Astral Chain makes extensive use of the ASTC texture format (it has several 4k textures, with mip maps). This game showed the best improvement from the compute shader acceleration from the games tested.
Other games which do not make extensive use of ASTC textures still showed noticeable improvements, especially during loading times or navigating menus.
This was a simple but impactful change. The Nintendo Switch has a 30/60 FPS cap on most games, and yuzu was faithfully emulating the Nintendo Switch framerate caps. But some games can be played at higher framerates.
I implemented a toggle that will effectively remove the Vertical Sync emulation, allowing the game to run at the highest framerate possible. This was a simple change, but it had a significant impact on the user experience, allowing for some games to feel like native PC ports achieving high framerates far beyond 60FPS.
Below are some comparisons:
Locked 30 FPS
Unlocked Framerate (60 FPS+)
This was my first (and quite successful) yuzu contribution I embarked on. I decided it would be a fun learning experience to attempt to implement support for the USB GameCube Controller Adapter within yuzu as an exercise of my programming ability, and as a means to add support to a popular input device that gave others more choices to play their games.
I spent many days studying the yuzu source code, attempting to understand how the program handles and interacts user input. I also studied the implementation of the GameCube Controller adapter in the Dolphin Emulator for the Nintendo GameCube and Wii consoles.
Ultimately, my task became to implement the libusb library into yuzu, which then allows the program to interact with devices over the USB protocol. This allowed me to directly read the state of the adapter and translate that into input data understandable by the program's internal structure.
The most challenging aspect for me was coordinating how to detect exactly when there is an input event, which I resolved by having a thread constantly store the state of the adapter and periodically check that state. I also had trouble with handling the way the analog control sticks are mapped. The values sent by the adapter indicate that the control sticks are 128 when at rest, 0 when all the way in the "negative" direction (left, down) and 255 when all the way to the right. But there was variance from controller to controller, and stick to stick, of the value produced when the device was at rest and in use. I resolved this by storing the original state of the device when initially connected, and used a threshold and a "deadzone" to reduce the sensitivity of the analog stick. This worked surprisingly well when in game.
The PR review was extremely valuable. Given this was my first contribution to an established C++ project, my first push was subject to criticism and very high standards. This was the first time my code was given genuine feedback, which was very helpful and went a long way to improving the readability, performance, and security of the code written, as well as introduce me to the modern C++ programming techniques.
This pull request again makes use of compute shaders to parallelize a typical GPU workload. BGR texture formats are commonly used formats, however, OpenGL does not properly support their use as internal formats, being limited to RGB formats. This results in the Red and Blue color channels to be swapped when rendering BGR textures with the OpenGL API.
My fix involved tracking BGR texture formats, and "swizzling" (swapping the R and B color channels of each pixel) the texture before it gets rendered on screen. Seeing as how the texture data already exists on the GPU, and the task of swizzling a pixel in an image is embarrassingly parallel, the use of compute shaders was an intuitive solution once again. Below are some comparisons:
I made a similar fix for Vulkan, albeit it was a much simpler fix. The A1B5G5R5_UNORM used by the Nintendo Switch does not have an exact equivalent format in Vulkan, instead, the A1R5G5B5_UNORM format needed to be used, causing the Red and Blue color channels to be swapped. By swizlling these channels during a view of this texture format, proper rendering is restored.
There were two known games that used this texture incorrectly under the Vulkan API, below are their before and after comparisons:
This pull request implemented the functionality to compile the Vulkan graphics pipelines asynchronously.
Prior to this improvement, when the Vulkan backend was used to render the gameplay, there would be very noticeable hitches during gameplay while the CPU was preparing the pipelines for the GPU to execute. I deferred this compilation onto separate worker threads to free the main processing thread from the responsibility of sequentially processing each pipeline.
My PR resulted in a noticeable improvement in the framerate and "smoothness" during gameplay, with no downside to the end user in terms of stability or accuracy.
While developing this PR, I was exposed to the challenges associated with coordinating asynchronous tasks, and how difficult it can be to track bugs when there are many simultaneous threads working in parallel. One particular mysterious bug that continues to haunt me was having work in the completed list twice in some instances, despite the work queue being thread-safe with proper mutex locking in place.
The duplicated work cause crashing due to there being Vulkan contexes relating to seemingly the same entities. I ultimately resolved this issue by avoiding to use a completed work list which is later collected, and instead directly placed it into the pipeline cache. I can only assume it was a compiler optimization causing this bug.
Personal and Course-related Projects
These are some notable projects I worked on, mainly for my academic course work.
This was my senior capstone project, a 9-month long game development project with a team of 5 artists and 6 programmers.
This game went on to win 1st place in the 2021-22 Drexel CCI Senior Projects Gaming category.
Contribution Highlights:
- Directed a team of 6 programmers in developing a 3D Online Multiplayer game
- Planned and designed the game's architecture, mechanics, and network systems
- Delegated tasks and managed the team's progress in weekly sprints
- Implemented key game features such as power-ups, scoreboards, lasso mechanics, and network-object instantiation (players, power-ups, coins)
- Integrated a toon shader for a cartoonish art style
- Developed a custom dynamic skybox shader to fit the game's art style
- Optimized the codebase for performance and maintainability (event-based patterns, bit-packing traffic over the network)
- Added various sound effects and background music to the game
- Added transitions and animations for UI elements
Overview
Fool's Gold Frenzy is an online multiplayer vehicle battler set in a Western theme. Players compete to get the most amount of coins within the time limit, and have access to an arsenal of power-ups to set back their opponents or protect themselves from oncoming attacks.
Players are also equipped with a lasso, which allows them to interact with the environment to perform advanced movement maneuvers, or steal power-ups from their opponents.
There exists 5 power-ups in the game:
- Horseshoe (projectile)
- Barrel (protection)
- Snake in a boot (homing projectile)
- Tornado (trap)
- Crow (homing coin-stealing)
Players can hold up to 3 power-ups in their inventory, and collecting multiple of the same power-up allows for an amplification of the power-ups' effect. This mechanic incentivizes strategic thinking for using a power-up right away, or waiting to collect more of the same power-up to strengthen their impact.
Horseshoe
Barrel
Tornado
Project Milestones
Fall Term Week 4 - Proof of Concept (Oct 14 2021)
Fall Term Week 11 - Minimum Viable Product (Dec 2 2021)
Winter Term Week 5 - Alpha (Feb 4 2022)
Winter Term Week 10 - Beta (Mar 11 2022)
Spring Term Week 8 - Final Product (May 15 2022)
Development
I acted as the project manager for the programmers on the team, being responsible for delegating work for the team members which play to everyone's strengths, and ensuring deadlines are being met.
I also did my fair share of programming. I was responsible for the lasso tether mechanics, and assisted with the development on the power-ups.
Initial tether implementation
Speed boost effect
Power-up stealing
I also focused on the graphics of the game: developing a dynamic skybox, integrating a toon shader, adding a glow effect to power-ups for ease of identification on the field, and allowing for customization of the player vehicle color.
Dynamic skybox
A lot of my time was also spent assisting the rest of the team members debug issues they faced, optimizing the codebase, and implemented loads of quality of life fixes and improvements.
This is an ongoing project that acts as an Independent Study course. The GitHub repository for this project will be made public soon.
This was an exploration into more advanced usages of OpenGL rendering. I worked with my graphics professor who acted as an advisor for guiding my independent explorations into some more advanced uses of OpenGL.
I implemented the following techniques in standalone scenes:
- 3D Wavefront Obj model rendering with texture mapping
- Bezier Patch tessellation using a Tessellation Shader
- "Exploding" models using a Geometry Shader
- Basic particle manipulation using Transform Feedback
- Real-time dynamic point shadow mapping
- Real-time reflections (Work in progress)
3D Obj Rendering and Phong Shading
Tessellation Shader Bezier Patch
Geometry Shader and Transform Feedback
Real-time Point Shadows
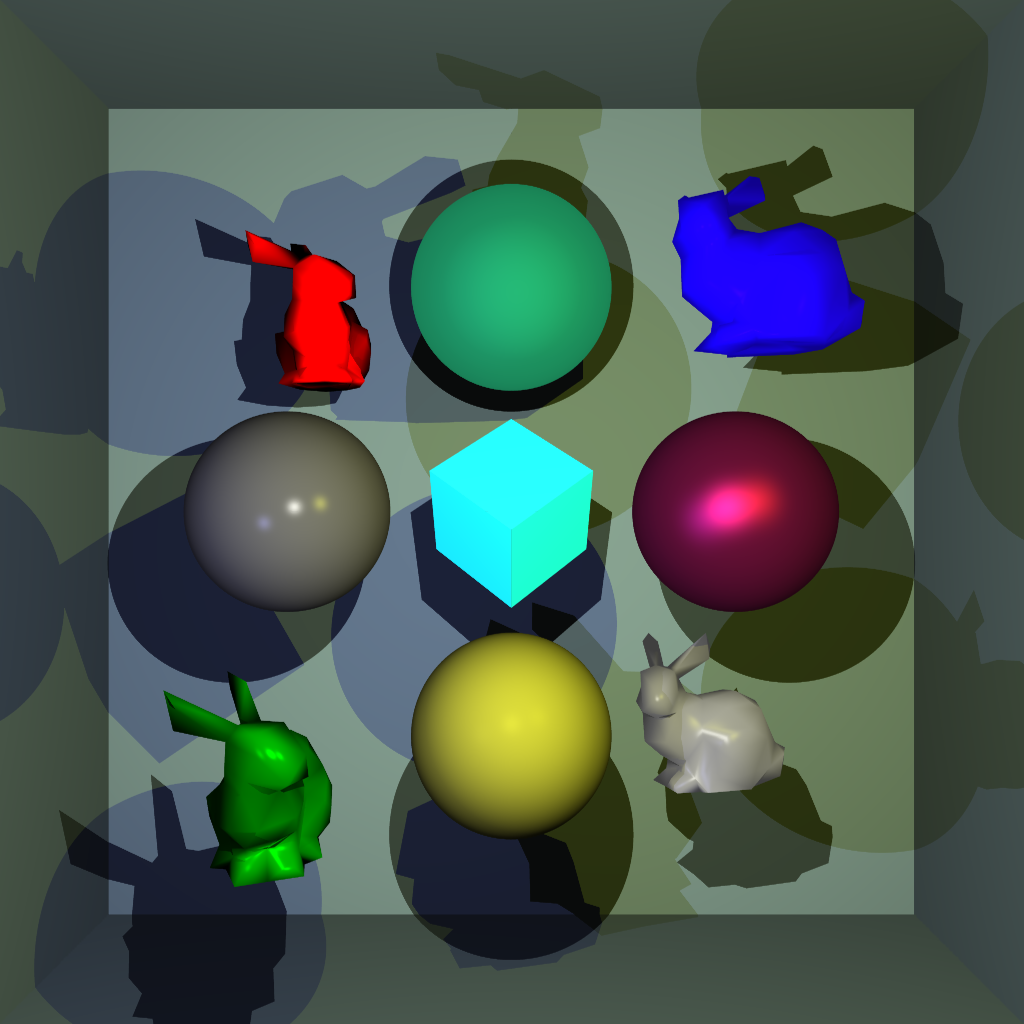
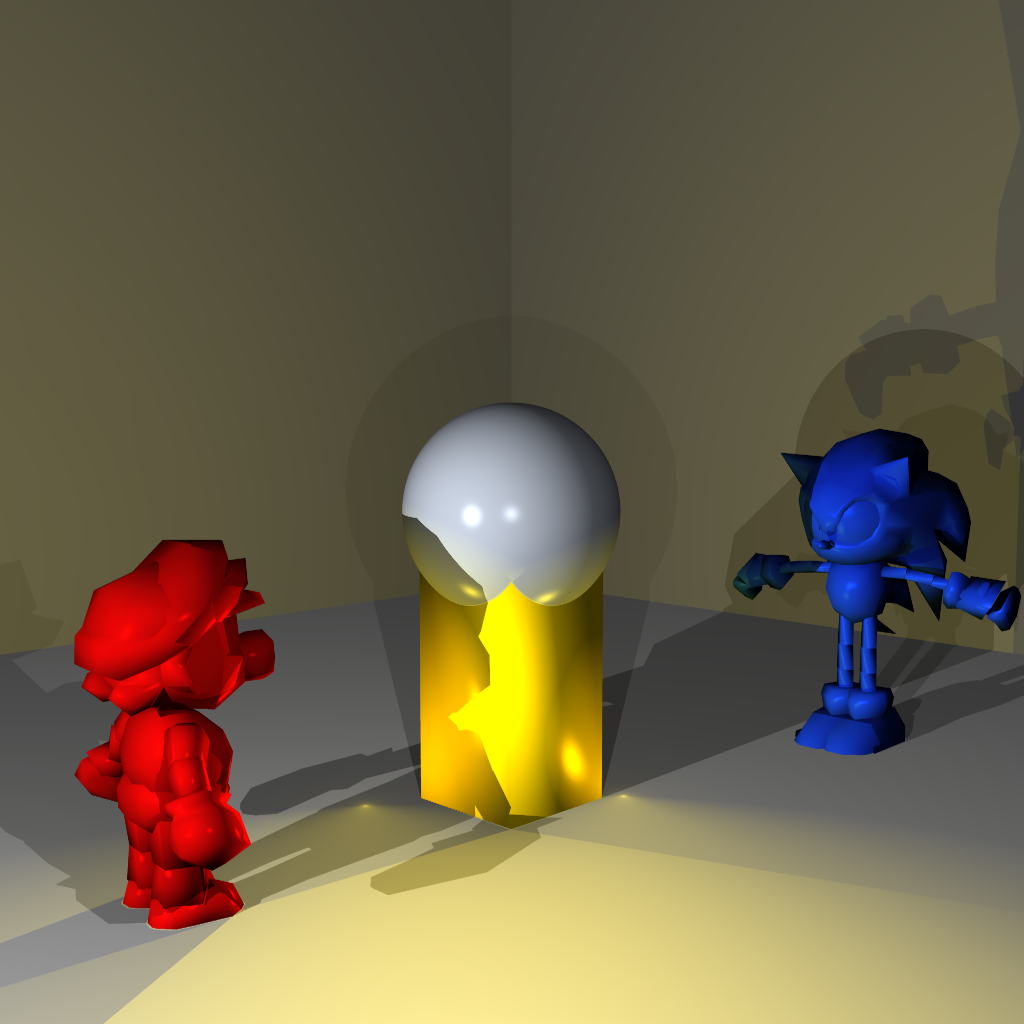
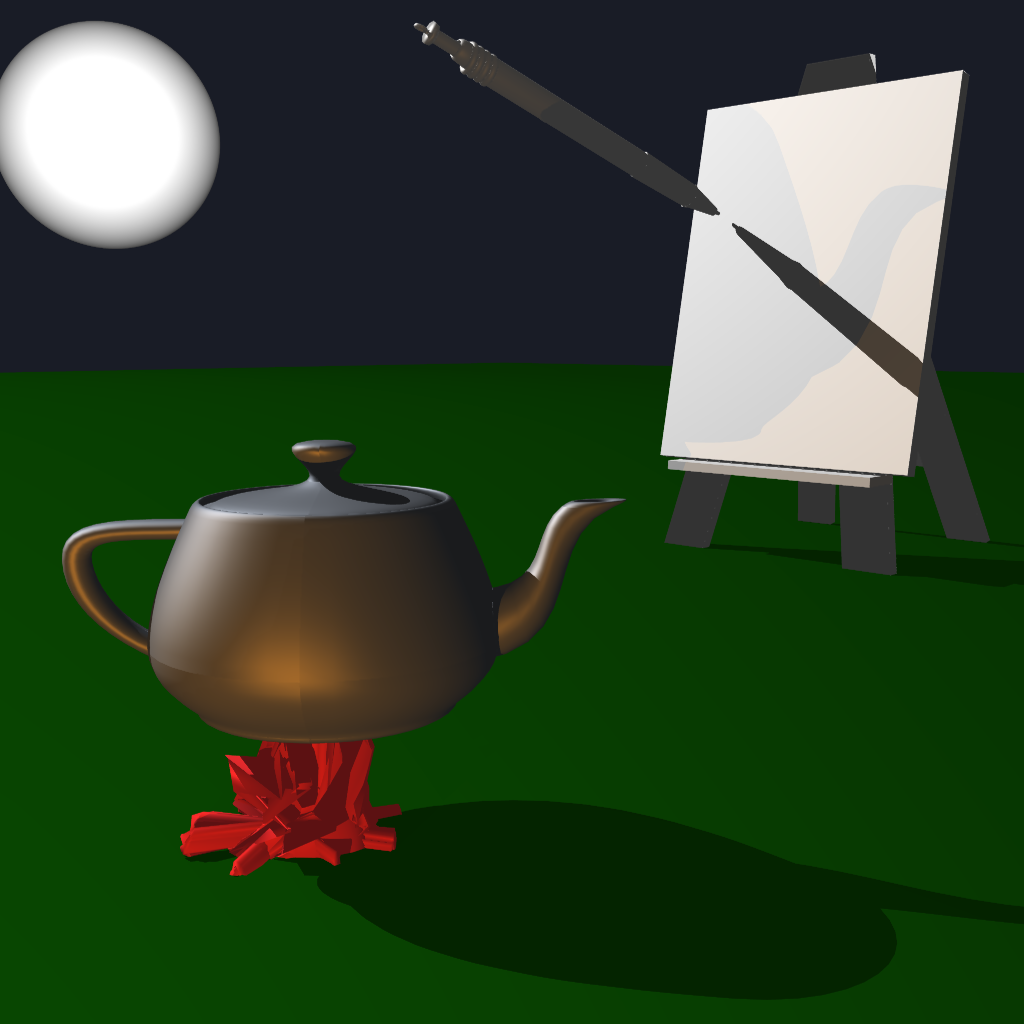
Built from scratch as part of graduate coursework, this Whitted-style ray tracer renders 3D scenes by simulating the physical behavior of light, including reflections, refractions, and shadows.
Highlights:
- Designed and implemented core rendering algorithms, including ray-object intersection and shading models
- Optimized performance by up to 70% for large scenes using bounding volume hierarchies (BVH)
- Achieved realistic rendering of scenes with multiple light sources and complex materials (Diffuse, Metallics, Glass)
- Improved visual quality with minimal impact to performance using Adaptive Super Sampling
Final Results
Development Progression
This was an independent exploration into OpenGL and realtime rendering, and served to be a tool to assist me in setting up the scenes I would later go on to use in the Ray Tracer.
This renderer also served as the base renderer driving the ASTC texture decoding compute shader I later developed for yuzu, which can be found on the ASTC branch of the project.
I began by following the tutorials made by YouTuber TheCherno. However, I did not realize the tutorial was still in progress, and there was no coverage of 3D or multiple object rendering. I adapted the foundation from his tutorials to rendering multiple 3D smf models, and allowed for real-time interactivity with the camera origin position and FOV, along with the colors, locations, and size for each model.
This allowed me to efficiently set up a scene that I can easily use in my 3D ray tracer. Below is a glimpse of the process to set up a scene:
For this project, I worked amongst a team of 4 others to develop an online multiplayer chess game. From the beginning, I wanted to take on the responsibility of developing and deploying the server. When it came time to develop the application, I came to realize that many of the team members were uncomfortable with the technologies used for the project, and I began to take on and develop more aspects of the application.
The server was capable of handling many clients at once, and acted as the mediator between players/clients. Besides developing the entire server, I became responsible for all client-server interaction, along with the dynamic updates occurring on the frontend, such as screen transitions, updating the game board, and rendering the board updates shared between players.
This website. I started it after having taken some Computer Graphics courses which need to be showcased visually. At first, it was based on a free template, but very little remains from the original template at this point. It utilizes basic Bootstrap 4 and jQuery, and is now serving as a professional portfolio for me to showcase interesting projects and experiences I've completed.
The entire theme, navigation, and layout was designed by me, and I'm quite proud of the way it turned out. The website is responsive, and has a mobile UI to make a comfortable experience on all platforms. I also took it upon myself to purchase my own domain name and SSL certificate and deploy it myself.
For this project, I acted as the project manager amongst a team of 4 members. Our goal was to develop an informative website which displays information on all of the food vendors on the main Drexel campus. We also added some interactivity where users can post reviews and discussions relating to the food vendors, and we had the flagship feature of a wait-time indicator for each place based on user input and historical data.
There was a frontend UI, JavaScript elements, and a backend Database which housed the user submitted data. Being that this was a Freshman year course, the team members were of various skill levels. As the project manager, I took it upon myself to understand where the strengths of each team member lie and delegated the work to them accordingly.
I ended up responsible for much of the JavaScript for the website, particularly communicating with the Database, and handling user search queries.
Coursework
This section contains descriptions of interesting coursework relevant to the career path of my major.
Due to the Academic Honesty policies of my university, I am unable to share the code I wrote.
Indicates that I have media showcasing my work.
Course numbers ≥ 500 are Graduate level courses
Filter by language:
- Any
- C/C++
- Python
- Other
Filter by topic:
- Any
- Graphics
- Architecture / HPC
- SW Engineering
- Theory
Beside ray tracing, the topics discussed in this course were:
- Volume Rendering
- Radiosity
- Constructive Solid Geometry
- Photon Mapping
- BRDF
- 2D and 3D Texture mapping
- Non-photorealistic rendering
Software Ray Tracer
Please see the dedicated ray tracer section in the projects tab for further renders and details on the evolution of this project.
There were 4 formal assignments and a final project that included topics discussed throughout the term. Below you will find a few sample images from the assignments I completed.
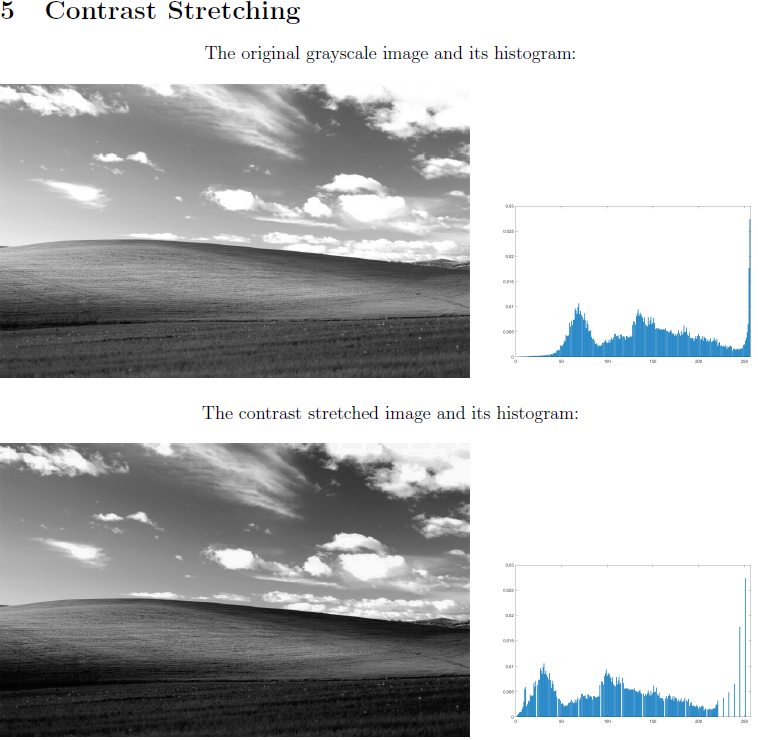
Assignment 1 - Pixel Operations
Then, using the grayscale image, we stretch the contrast to let the image utilize more of the intensities which are missing. The image shown is my result.
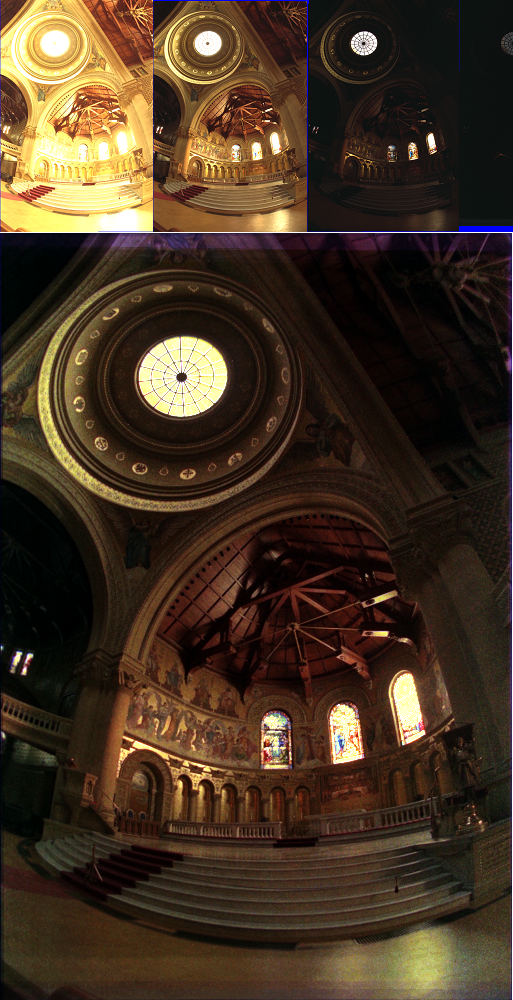
Assignment 2 - HDR
Given several images of the same subject taken at different exposure lengths, we were asked to find the estimated irradiance of the pixels in the image, then recreate an HDR image using the average irradiance for each pixel location.
Then, we tone-mapped the HDR image back into an 8-bit per channel image to be compatible with standard non-HDR displays. The image shown is my result, with examples of the different exposure images at the top.
Assignment 3 - Image Retargeting
Then, we implemented a "smart" retargetter, for shrinking the width of an image. Using grayscale intensity and gradients, the algorithm finds the connected column seam with the lowest perceived change from its surroundings. Removing that seam reduces the image width by 1 pixel, repeat until desired width is achieved.
The videos showcase my retargetting tool at work, with each seam found marked in red. Notice how Mario and Mona Lisa's face, the "important" subjects in the image, remain relatively unchanged until the very end, whereas the less "important" parts of the image are removed.
Of course, retargetting to one pixel wide is a pathological case, and this tool would realistically be stopped once the desired width is achieved.
Assignment 4 - Image Classification
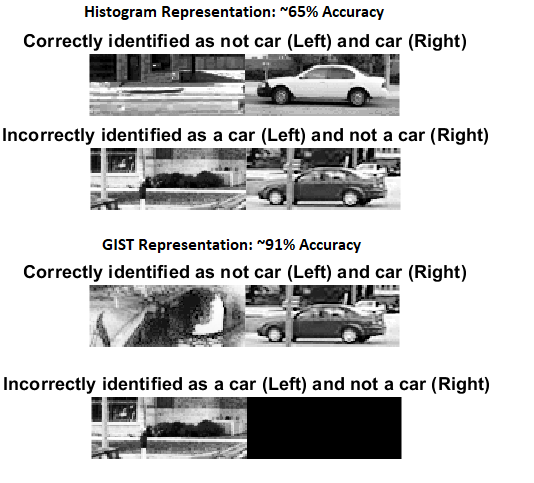
After learning the training data, the algorithm takes the representation of the test image to be classified and determines its classification based on the 5 training data representations closest to the current image's representation. (If 3/5 images are classified as a car, then the test image is classified as a car)
The first algorithm was using histogram representations for the test and training images, which looked at the entire image, keeping a tally for the number of times each color intensity is used. This was relatively naive and inaccurate, and resulted in approximately 65% accuracy in classifying the images.
The next run used GIST representations, which divided each image into 20x20 sub-sections, and describing each subsection to maintain location data in the image. This proved to be far more accurate at 91% correct identification, and in fact, did not incorrectly classify any car image as not a car.
Final Project - Automated Image Stitching
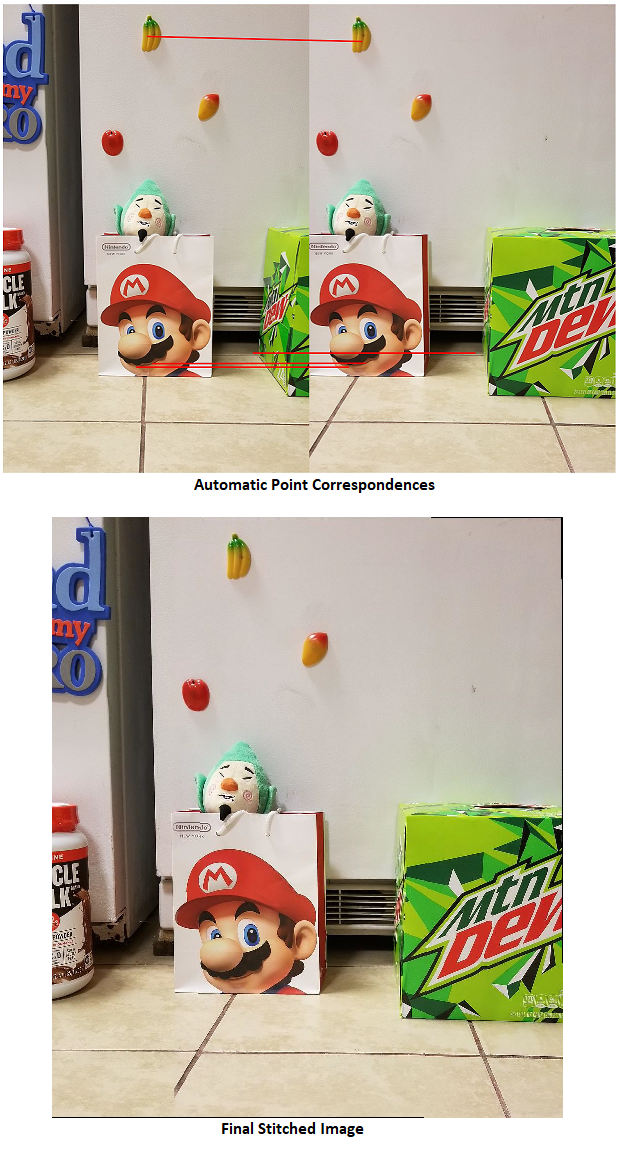
The final project seems simple and intuitive conceptually, but was rather challenging and involved many different moving parts working together.
We began by manually selecting pixel correspondences found between two images, computing the homography transformation matrix that transforms the pixels in the first image into their location in the second image and blend. But then we automated this process.
The basic execution sequence for the image stitching program is as follows:
- Find the local extrema/interest points in each image
- Remove extrema in areas of low contrast and edge pixels
- The remaining extrema are possible Key-points in the images
- Find key-point correspondences by comparing the descriptors for each key-point in both images (similar to HW4)
- Using a random subset of key-points, compute the transformation matrix and chose the 4 correspondences that result in the closest mapping of all key-points
- Transform one image onto the other using the best transformation matrix, then stitch and blend.
Further details and specifics about this process can be found in this PDF Writeup
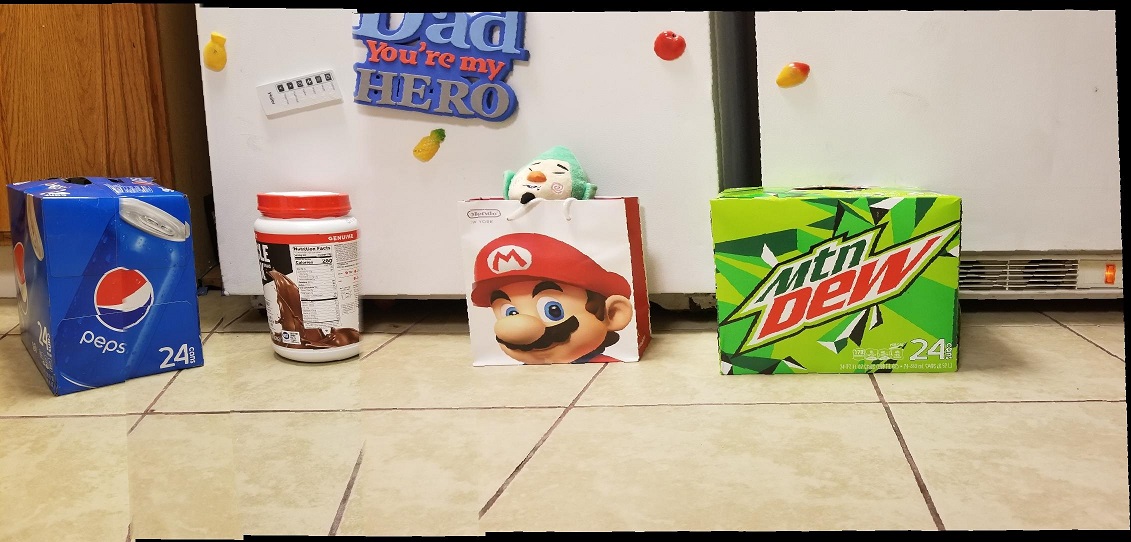
For an extra credit opportunity, we were tasked to have our program stitch more than two images. I chose to stitch 5 images. The result is... fine for my first attempt at it. The PDF writeup contains details about its limitations and possibilities to improve it.
This course was an introduction to realtime interactive graphics, and leveraging GPUs for rendering. The topics covered included: The graphics pipeline, graphics primitives, buffer objects, viewing models, model transformations, color and shading models, curves and surfaces, picking, texture mapping, and frame buffer operations.
Each topic was first introduced in theory, followed by a guidance on how to apply the technique in WebGL. The following media showcase all of the assignments completed for the course:
2D Rasterization and Animation
To get started learning the rendering basics, we implemented simple 2D scenes with parametrized models. We later animated a scene and gave some control and interactivity using on-page inputs and keyboard/mouse input.
3D Transformation and Shading
The addition of the third dimension began with a simple cube that is orthographically projected, and manual application of transformations on the cube. Followed by the parsing of 3D SMF models, perspective projection, and coloring based on the value of the normal vector on each triangle.
The Phong shading model was then implemented, with a dynamic light that can be moved independently of the camera. If the shading calculation was done in the vertex shader, it was called the Gourard shading method, with the proper Phong shading being done in the fragment shader.
Bezier Patch Rendering and 2D Texture Mapping
Bezier patches were next, parametrizing a cubic polynomial to create smooth curved surfaces. Using the bezier equation allows to parameterize and dynamically create a mesh of a surface approximating the solution to the bezier equation.
Since the patch is parameterized between [0, 1], it was trivial to texture map it using OpenGL's texture mapping capabilities.
3D Texture Mapping and Picking
We rounded off the course with 3D procedural texture mapping, in which I created a shiny wood looking texture that can be applied to any model loaded in.
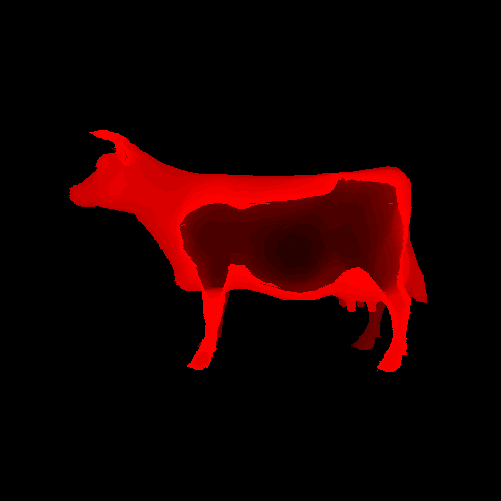
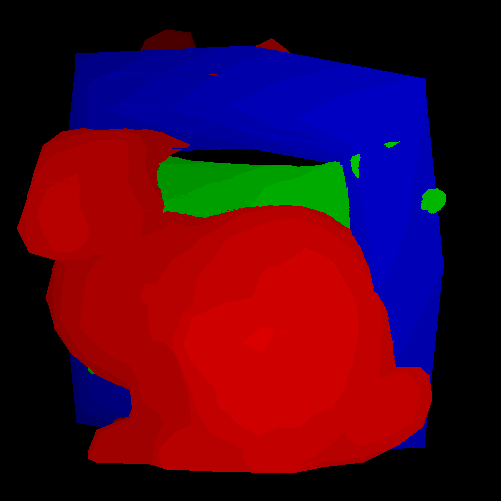
Finally, we implemented 3D object picking, which involves an offline render to another framebuffer, where each object has a unique color to identify it. The returned color of the object where the mouse clicked indicates which of the (possibly overlapping) objects was selected, and changes its color in the onscreen framebuffer.
For the assignments, we were to build a scanline rasterizer, starting in 2D and making our way to 3D. There were six total assignments I completed for this course. The following is a description of each along with images rendered by my program.
Assignment 1 - Draw Clipped Lines
The first assignment was drawing lines given a PostScript file, which defines pairs of vertex positions to be connected by a line. The program also accepts arguments to modify the scale, rotation, and translation of all vertices, along with being able to alter the final image dimensions.
Line drawing was accomplished by implementing the DDA algorithm for scan-conversion of lines. Line clipping was implemented by utilizing the Cohen-Sutherland algorithm. The final image is written in the X PixaMap text based file format, which made it simple to generate images programmatically.
Assignment 2 - Polygon Clipping
This assignment built on our previous work, maintaining all previous functionality, but we now add the functionality in our PostScript parser for drawing connected lines between each new vertex added until the "stroke" command is reached
Polygon clipping was implemented by utilizing the Sutherland-Hodgman algorithm which involved maintaining the polygon line relationships and add lines between points which are clipped, rather than simply not rendering the line if it is outside the window.
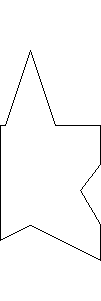
Notice how the star edges that have been clipped continue to be connected in the output image.
Assignment 3 - Polygon Filling
The polygons are clipped before transforming to the viewport to reduce the amount of scan-lining needed as early as possible.
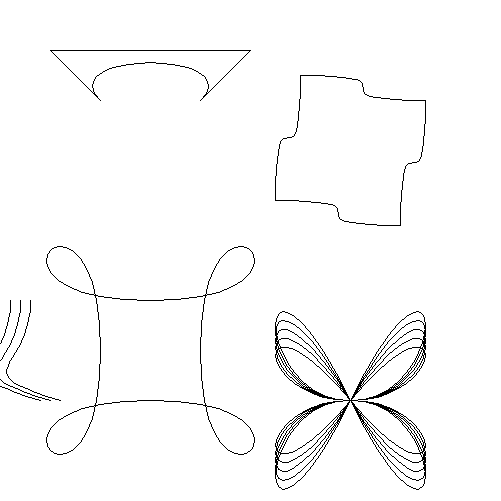
Assignment Extra - Bezier Curve Drawing
This was an intermediary extra credit assignment, where the De Casteljau algorithm was implemented to draw curved lines.
Assignment 4 - Draw 3D Lines
Much of the view frustum's values are passed in as arguments (Camera Location, View Reference Point, View Up Vector...) which are then used to compute the 3D to 2D projection matrix. There is also an argument to use perspective, shown in the first set of images, or parallel/orthographic projection, which is demonstrated in the second set of images.
For extra credit, we were to implement back-face culling. The two images that are lighter (less triangles being rendered) are with the backface culling flag enabled.
Assignment 5 - Z-Buffering
The Z-Buffer is initialized along with the image frame buffer, and is updated during the scan line filling of each face, with the Z-value being interpolated along the edge between each vertex for smooth shading (although we were limited to 20 colors per channel.)
This course was an exploration into Operating System development. Lectures covered the general Operating System theories and principles, with programming projects focused on implementing features in the open-source Inferno OS.
The topics covered in the course included:- History of Operating Systems
- Memory Management
- Process Management
- File Systems
- I/O Device Drivers
Project 1 - Process Scheduling
For this project, we were tasked to replace Inferno's round-robin process scheduler with UNIX 6's scheduler.
We had the opportunity to dive into the functionality responsible for running the userland processes for their allotted time slice, and modify the prioritization based upon the amount of CPU time each process occupied, favoring those with less time accrued.
This allowed for favoring processes that are I/O bound, rather than compute bound processes, to give the system better responsiveness at the cost of some performance for programs that are purely computational in nature.
Project 2 - Slab Memory Allocation
For this project, we were tasked to add slab allocation into Inferno's memory management logic.
This project served as an exercise on C pointers. Memory management in Inferno relies heavily on linked-lists. Our task was to maintain a list of previously allocated memory blocks that are ≤ 4KB in size, in order to reduce the number of repeated allocation for these smaller common block sizes.
Project 3 - RAID 0 Driver
For the last project, we were tasked with simulating RAID 0 using pre-allocated files that acted as a fixed size drive
This was my favorite assignment, and combined our understanding of File Systems and Device Drivers. The premise is quite simple. Adding a driver into Inferno was straightforward thanks to a template driver provided to us, along with other drivers which I used as a reference.
The functionality of this driver was to "bind" two files to act as the two drives of the RAID array. One file would hold all the even-numbered blocks that are written to the array, with the other drive holding all odd-numbered blocks.
The driver had logic to handle reading and writing from arbitrary offsets within each file, for example, writing from the middle of an even block to the end of the next odd block. When accessing the file from the rest of the system, it functioned as if it were a single file with its size being the sum of the size of the two underlying files.
This course discussed various High Performance software development techniques. The main topics that were covered are:
- Data Organization and Optimization
- Program Optimization
- Cache Memory
- SIMD Operations
- GPU Programming
For programming assignments, we were tasked with analyzing various C programs compiled to their x86 assembly, and using the PAPI api to count the numbers of instructions and clock cycles executed. This became useful when analyzing various HPC techniques. Loop unrolling was one such technique that produced less x86 instructions being executed per element, but by counting the clock cycles needed per loop iteration of every element, it became apparent that Instruction Level Parallelism was also taken advantage of.
The cache assignment illustrated how cache misses can effect performance. By accessing array elements at a stride greater than what the levels of cache can hold, the access times from the L1, L2, and L3 cache become clearly apparent. Loop blocking was then introduced to show how programs can be rethought to take advantage of cache, and have very noticeable performance improvements.
SIMD and GPUs were discussed, but moreso as an analytical view of their capabilities, rather than writing programs utilizing these technologies.
In this course, we discussed High-Performance/modern processor architecture design. The course was split into two halves, the first half had a focus on pipelining and branch prediction techniques, with the latter half discussing Cache and memory design, Instruction and Data-level parallelism, and Out-of-order execution.
In particular, the main topics discussed were:
- Branch prediction: static and dynamic predictors, local and global predictors, two-level predictors.
- Memory: Latency mitigation with cache, Direct-mapped and set associative caches, data granularity for memory accesses. Cache replacement policies,
- Advanced Cache Optimizations: Way prediction, Pipelined caches, multibanked caches, non-blocking caches, Critical word first, merging write buffers, prefetching
- Out-of-order execution: Reorder buffers, static and dynamic instruction scheduling
I particularly enjoyed the homework assignments, there were 4 in total, two were relating to branch prediction, and the other two focusing on cache memory design. The way the assignments were structured was the first assignment on the topic closely followed what was discussed in lecture, with the second assignment providing a research paper and tasking us with implementing the technique from the research paper.
Being exposed to various research papers made the reading of academic papers more accessible. It also gave us the means to confirm whether the proposed technique truly offers the advantages that are being argued for possibly different use cases.
In this course, we discussed Concurrent Programming. Beside the concept of spawning threads and using locks, we also discussed proofs of concurrent algorithm correctness along with model checking using Promela and SPIN. Various ways of mitigating the hazards that arise without always relying on locks and volatile/atomic variables were also discussed.
Of course, it couldn't have been a course on concurrency without the discussion of deadlock. The causes and ways of detecting and mitigating deadlock were discussed, while also keeping in mind parallel performance and thread starvation issues.
Beside mutex locks, semaphores, monitors, and channels were introduced as other synchronization methods, being applied on the classical concurrency problems in lectures, with homework assignments requiring building a non-trivial program using one of these synchronization methods.
This course introduced dynamic memory allocation in C, explaining the motivation behind memory allocation, but also the common pitfalls and bes practices to go along with the process. The course then moved to Operating System calls and the POSIX standard for file descriptors and file I/O, network sockets, and thread and process management.
The labs were relatively small programs to introduce the concepts of memory allocation, socket programming, and concurrency using pthreads. The three homework assignments were more involved.
One of the homework assignments involved writing a replica of the SQL SELECT, INSERT, DELETE, and UPDATE commands to create a database using local files. Another assignment involved the implementation of memory sharing pipes between one process and its forked children to play "Connect N >= 4", but my favorite assignment was:
Assignment 2 - Multi-Threaded Encrypted Chat Client
This assignment was to build an encrypted chat application, with extra credit for using a multi-threaded implementation. The program arguments are the port to bind and listen to, the client host address and port, along with encryption and decryption keys. The encryption was done using the RSA algorithm by hashing the ASCII representation of the message using the public key, and decrypted with the private key.
The multi-threaded solution was perfect, seeing as how this was an embarrassingly parallel application. One thread is in an infinite loop always reading data on the listening port, with another thread always waiting to write data to the socket connection with the other user. I did face some trouble with coordinating the startup of the program, and determining who acts as the "server" and who acts as the "client." Otherwise, it was a relatively straightforward and elegant implementation.
This course was a proper delve into the foundations of processor architecture. It focused on the MIPS architecture, being structured where the first half was introducing the syntax and capabilities of MIPS architecture using assembly, and the second half being a dive into building/designing the CPU hardware architecture using the logic components.
We were walked through the thought process behind the CPU design, and the hurdles that can be faced and sacrifices that musy be made when designing the hardware. This provided a much deeper appreciation for the designs we take for granted today, and allowed us to see the clever, and sometimes desperate, measures taken to make a CPU work, especially when pipelining was introduced.
The course had assignments based around writing assembly programs of traditional standard functions such as summing the elements of an array. For the second half of the course, being focused on hardware design, we were tasked with building the components of the CPU using gates, and then using these components to build the single cycle and later the pipelined CPU design, adding the required hardware to make the Assembly instructions used earlier in the term work as expected.
This course was an exploration of Data Analysis using MapReduce. The motivation for distributed computing and the various MapReduce implementations were discussed. The programming assignments were developed using the MRJob Python framework, along with deploying our solutions to Google Cloud Platforms and utilizing the underlying dataproc runners to distribute the work to many worker nodes.
The three main assignments for the course were implementations of Inverted Indexing, Google's Pagerank, and a Naive Bayes spam classifier in MapReduce.
The final project was to apply one of these implementations on a large dataset. The team I was working with decided on improving our Pagerank algorithm, and ran it on a dataset by Google containing a web of ~850,000 links, and a Wikipedia dataset of over 100 million hyperlinks between articles.
Implementing final project made us become more aware on how to minimize unneeded operations and memory stores to improve performance, especially when working with massive datasets.
In this course, we are discussing modern software design approaches, and are exposed to various programming languages and deployment techniques to broaden our exposure to the vast tools available, rather than focusing on a constricted view of software.
Various modern architectural and designs were discussed, using pioneers such as Netflix, and Amazon to illustrate the ideas introduced. Of course, the classic idea of reducing complexity was the main focus, with various design patterns being discussed showcasing the different approaches to healthy design decisions for software projects.
The course also introduced modern deployment systems such as Docker, Kubernetes, and motivated modern services such as cloud computing and serverless computing.
The course culminated with a project simulating Blockchain, but emphasizing good design decisions with modern software. My team followed a Model-View-Controller pattern with our project having the frontend act as the view and render the Model that is served by the backend. The backend contained a special controller class to handle manipulation of the Model. Separation of responsibilities was a major focus in order to reduce complexity.
In this course, we discussed the various methods and techniques to test and validate software systems. The usual open and closed box testing approaches to testing were introduced first, followed by a glimpse into performance testing, randomized testing, GUI testing, and mocking. The course assignments were completed using Java's JUnit library and Selenium for web GUI testing.
Software design was also discussed in regards to the importance of usability and accessibility of software.
This course delved into the various object-oriented design patterns for software, and stressed the importance of taking the time to design the software prior to beginning code. All coding for the course was done in Java, and the design documents followed the UML standards.
The motivation behind learning the design patterns was to create software with evolution in mind, which can easily adapt to change. This was demonstrated in an assignment for the course where we designed and then implemented a survey-taking system, and later needed to add test-taking and grading functionality.
Our original design was put to the test against reasonable software evolution, and the designs which were well thought out and had loosely-coupled components fared much better. Proving the value of taking the time to design a system with change in mind, rather than diving straight into coding a solution which gets the job done, but is difficult to maintain and improve.
This course covered the very fundamentals of object-oriented design, with Python as the language choice. Many command-line "games" were written for this course, as they were good candidates to teach the OOP concepts. First developing a "Player" class, and an "Enemy" class, but then abstracting that into an "Entity" class, which houses the shared attributes. Polymorphism was explained by having multiple enemy types, with unique distinctions and quirks but sharing many attributes with the basic "Enemy" class.
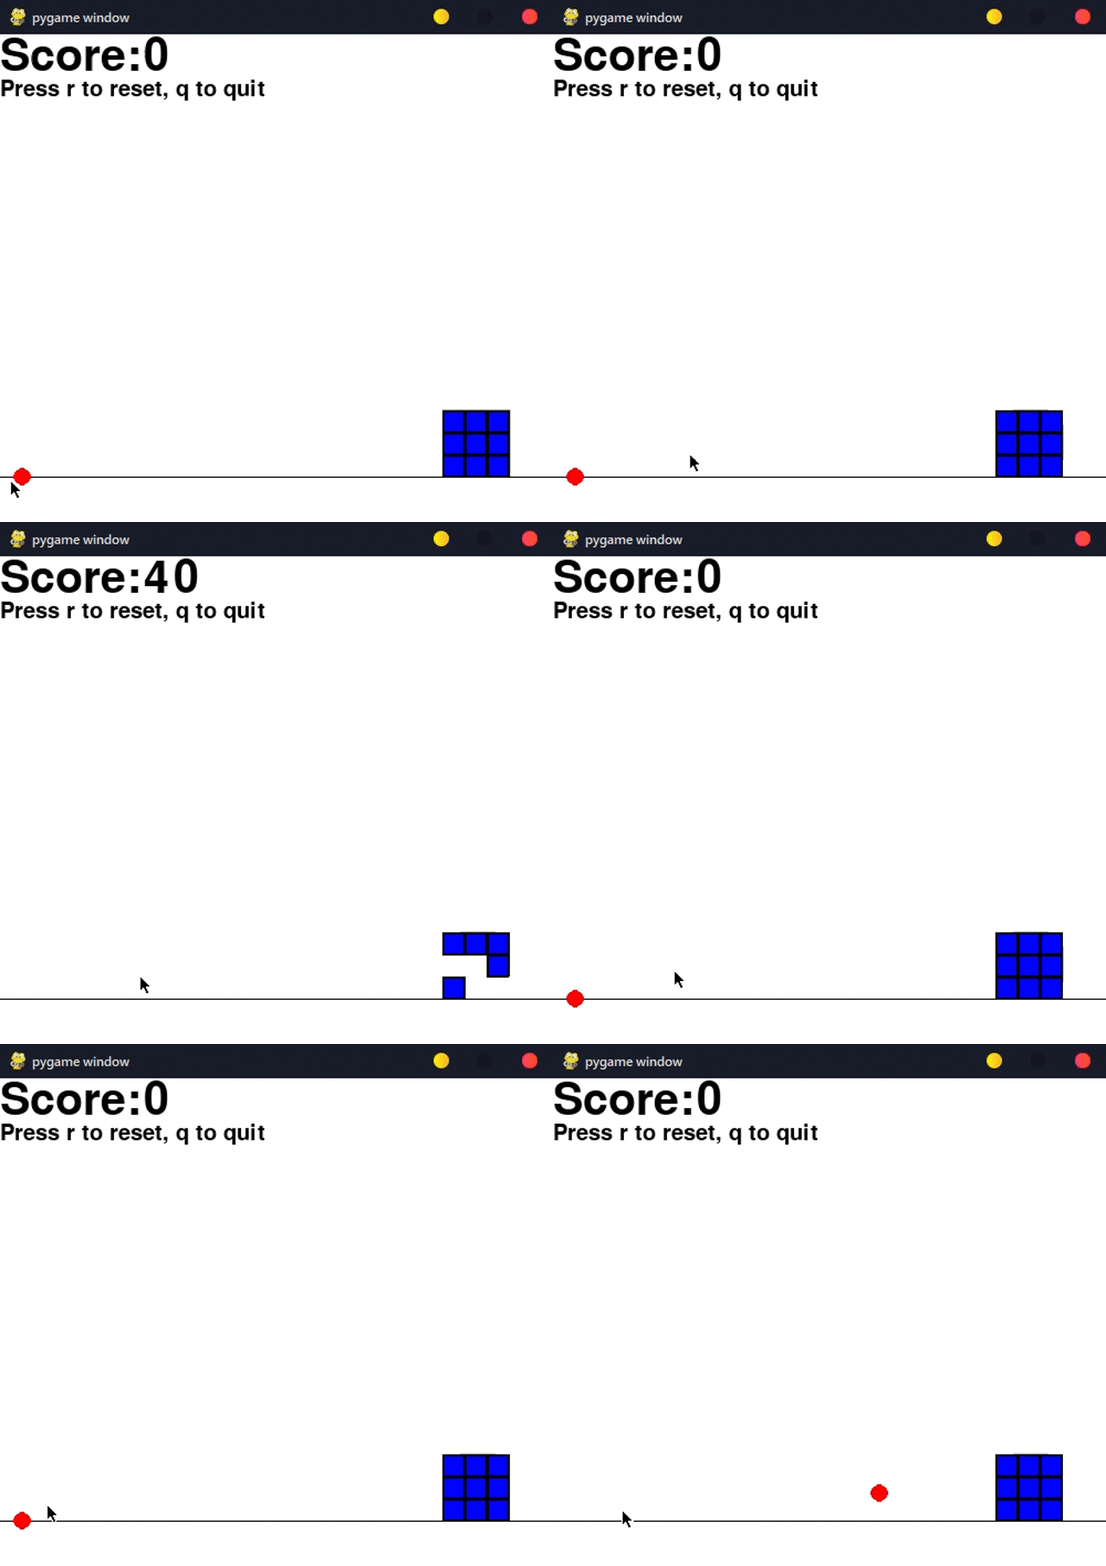
The course culminated with a simple graphical game using pygame. The ball, text, and squares are all their own classes. It also helped introduce how to use real world physics equations into a game, with there being gravity and other forces acting on the ball depending on initial and final mouse cursor locations. Along with a basic collision detection system.
This course was a theory-based Data Structures course. There was no formal programming, rather, we spent much time discussing pseudo-code of algorithm and data structure implementations.
Much of the course was centered around the analysis of running-time complexity for the various standard algorithms, and we were challenged in homework and exams to expand on these known algorithms in order to design efficient methods of solving a real-world problem.
- Comparing functions using Big Oh, Big Omega, Theta, little oh, little omega notation.
- Asymptotic notation
- Recursion trees
- Divide and Conquer algorithms
- Sorting algorithms (merge sort, quicksort, heap-sort, insertion sort, radix sort)
- Algorithms to find the i-th order statistic (min, max, median etc)
- Methods to prove the running time of an algorithm (master method, induction)
- Loop Invariant
- Binary Search Tree
- Heaps
- Graph representation
- Breadth and Depth First Search
- Minimum Spanning Tree
- Single Vertex Shortest Path
- All pairs shortest paths
This course was an intro to AI, where the concepts and principles of AI were broadly discussed. Search algorithms were reviewed and were given the motivation for problem solving, with one assignment being a puzzle game solver, comparing BFS, DFS, A*, and Iterative DFS in terms of their efficiency in this real-world problem.
The course then shifted to Machine Learning, and the Logic languages used by machines. The second assignment of the course was building a Naive Bayes classifier to predict the sentiment of reviews, and explored some of the ways to gain more accurate results.
The final project, I worked with a group of two others and we explored using Convolutional neural networks to detect moving objects from CCTV feeds in real time.
- Big-O Notation
- Sorting algorithms
- Lists and Arrays
- Dictionaries and Hash Maps
- Binary Search Trees
- 2-3 Trees and Tries
- Huffman Codes
- Heaps
- Graphs
- Depth-first and Breadth-first search
Professional Experience
I am currently a Software Engineer at AMD. Working on the DirectX Raytracing driver team.
Co-Op/Intern Experience
For my final Co-Op, I had the opportunity to work at Intel Corporation. I was part of a team doing pre-silicon performance validation for Intel's next generation Graphics processors.
GPU Performance Validation Micro Benchmarks
My main responsibility was developing performance validation microbenchmarks. The scenarios were planned by GPU architects, and I was on the team that implemented these scenarios in an abstracted GPU API that was executed on simulators. The benchmark or test would typically be structured to set the GPU state, compile GLSL or HLSL shaders, then executing the work while recording performance data.
The scenarios were focused on very specific functions in the GPU's architecture, which meant that implementing a performance test required a depth of knowledge in a particular unit, rather than a breadth of knowledge over the entire GPU.
During my time on the team, I worked on writing tests that targeted specific GPGPU functions, such as cache latency and strided memory access, and the Geometry pipeline, validating the performance of features relating to vertex attribute caching. Towards the end of my Co-Op, I worked on developing a test targeting the new DirectX 12 Sampler Feedback feature.
Out of respect for Intel and its property, I will refrain from sharing further specifics about the performance testing work I completed.
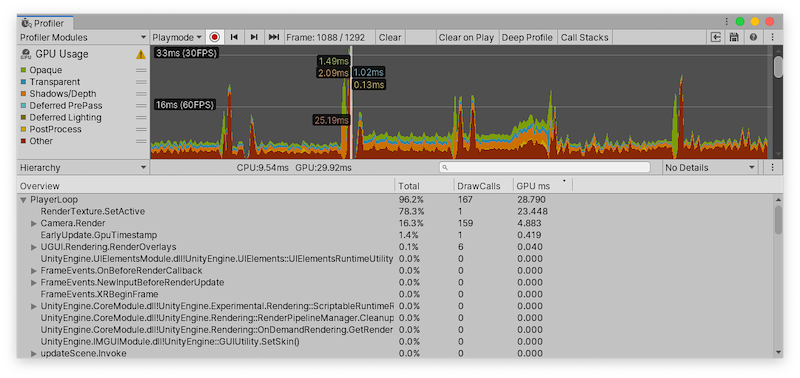
A screenshot of the Unity GPU Profiling tool , used to illustrate the use of a visualizer to analyze key GPU metrics.
Target Lookup Library
In the downtime I had while developing microbenchmarks, I developed a library that was used in the microbenchmark scripts to easily query the metrics and targets that the scenario was expected to meet.
These targets were defined by the architects with each scenario, usually based on a mathematical formula based on the device's hardware specification. Most benchmarks that were developed recomputed the targets, but this was error-prone, and difficult to maintain when device specifications were updated or new devices were to use a different calculation for the target.
My library queried the source of truth directly, a database that held the most up-to-date information about the targets that each scenario was to meet for all defined devices. Users of the device were to provide the scenario name, and the library can find the device name at runtime, and query the correct target for the requested scenario.
As more users began to integrate the library into their scripts, more features were requested. One of which was to read the test file name at runtime, and find the matching scenario that was linked to this test file, and retrieve its target. A "zero configuration" target retrieval for the current running device and test. Another major request was the ability to override the targets for a specific device and environment. This required specifying a separate lookup table for the overrides to be applied
For my second Co-Op, I had the opportunity to return to Comcast, this time as a Software Engineer.
Interactive API Documentation
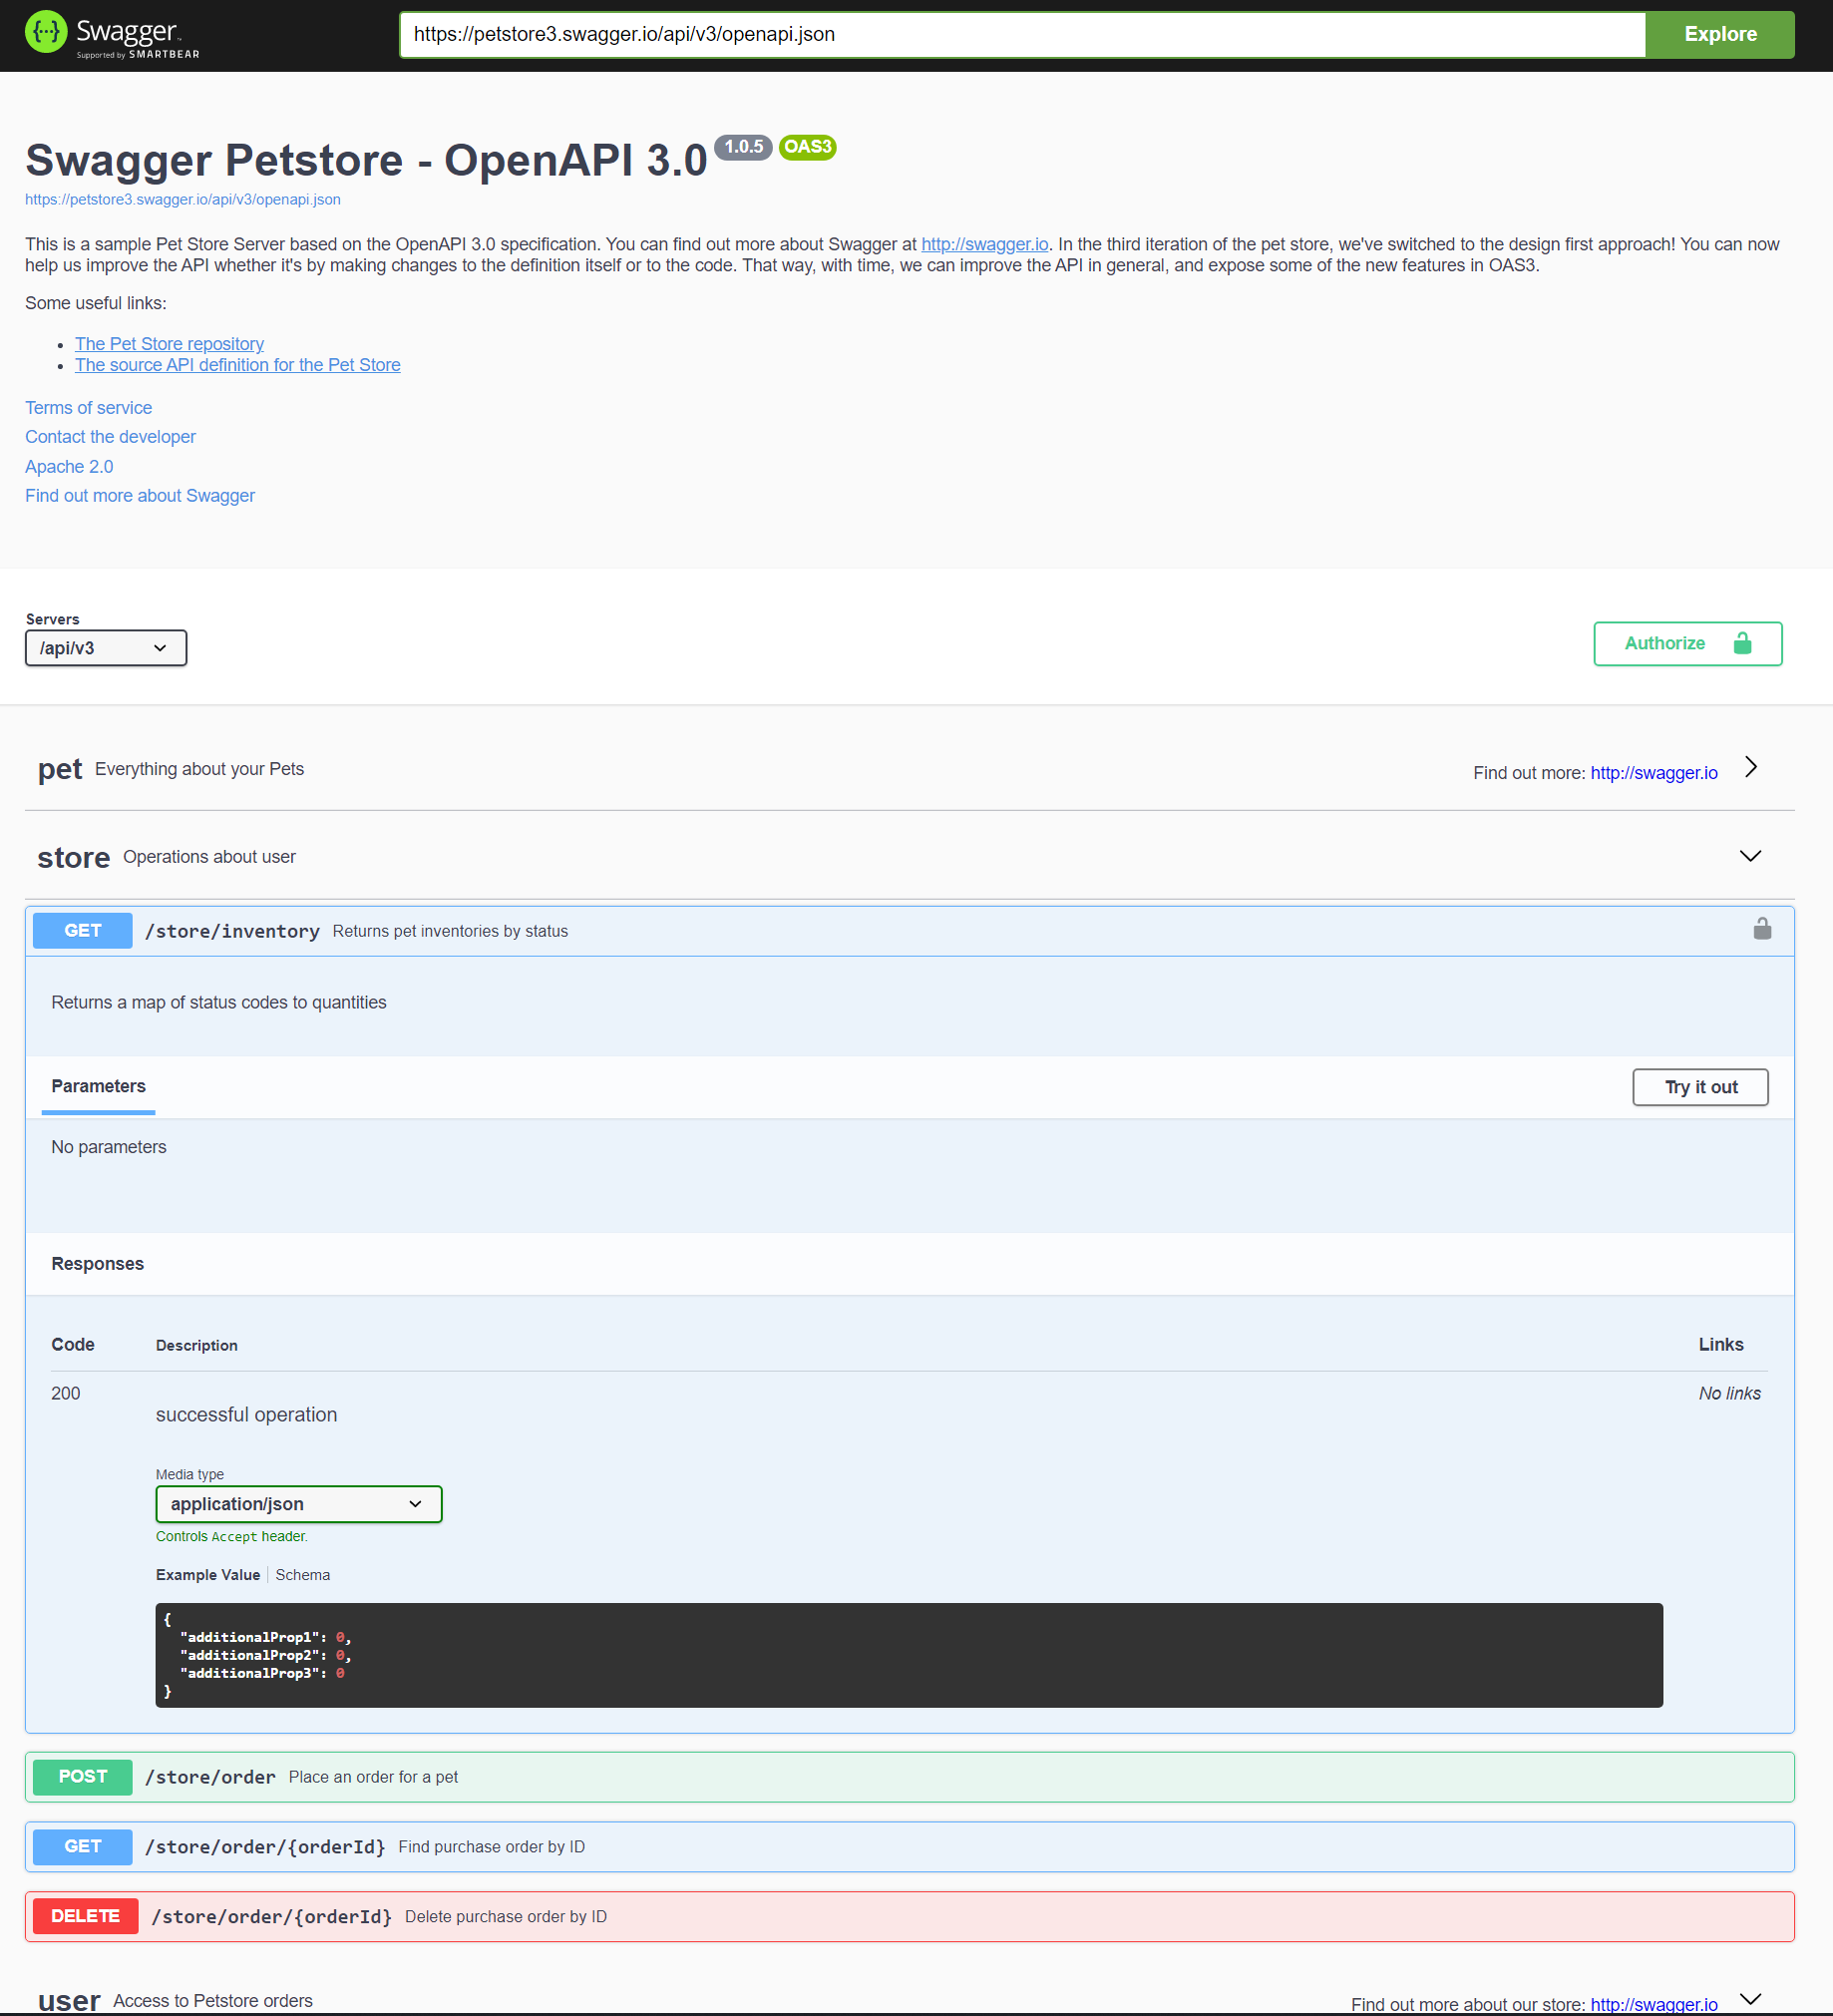
My first major responsibility was to come up with a solution to showcase interactive and accurate documentation for all of the RESTFul APIs that my team was supporting, which were written in Go. The OpenAPI (formerly known as Swagger) seemed like the obvious candidate for the UI.
I chose to integrate the little-known framework Kommentaar into the Go projects to generate the specification needed for the OpenAPI UI to ingest. Kommentaar searches through comments and annotations to get the API endpoints and descriptions, and uses the very same data structuress used in the code to detail the data that is sent and recieved with the endpoint queries, where applicable.
I integrated the OpenAPI spec generation into the CI/CD pipeline for all of the APIs, and made it accessible from a single known endpoint, I then built a UI in Vue.JS which fetches the corresponding OpenAPI spec for each development environment and service, and renders it on screen. After, of course, going back into the API code and allowing Cross-Origin Resource Sharing with my Vue.JS UI host to allow it to make requests to the APIs.
Automated System Integration Testing
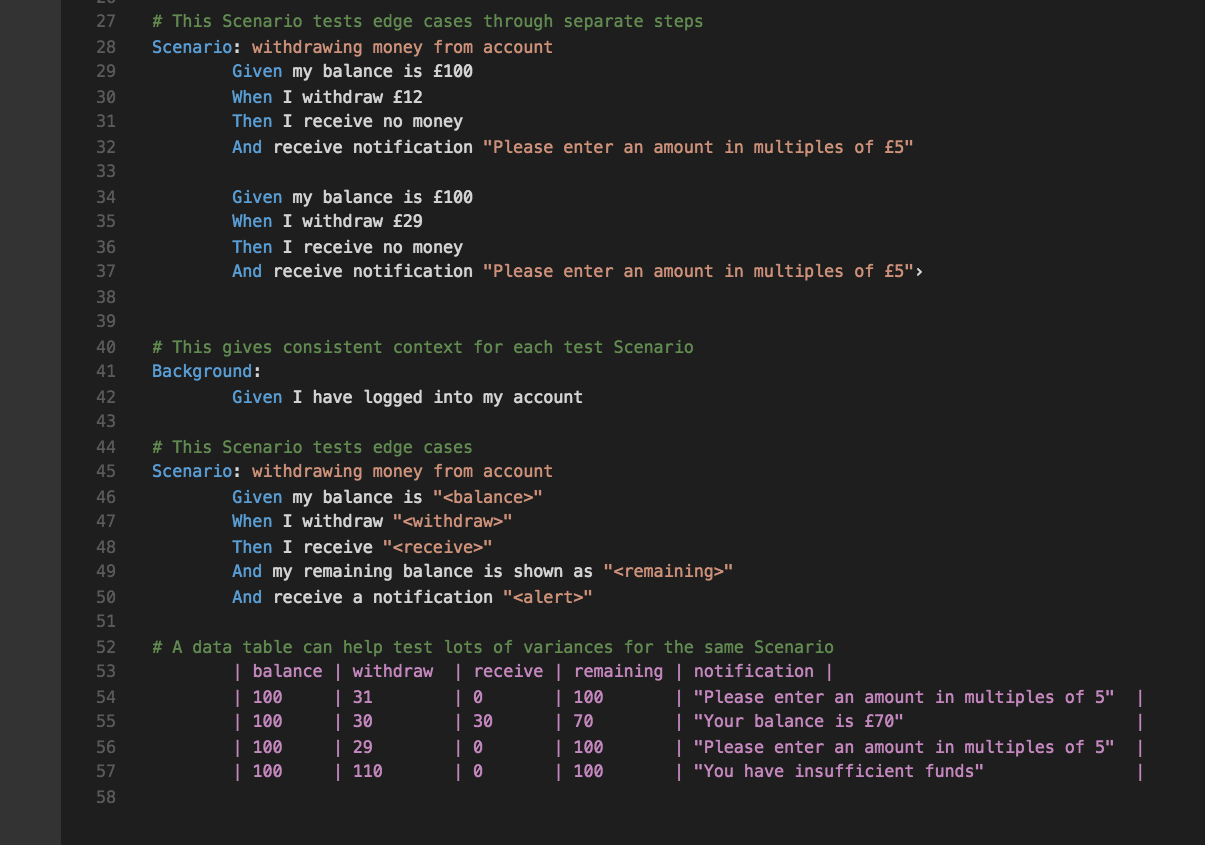
My next major responsibility was to kick-start the automated System Integration Testing (SIT) of the very same APIs that I helped document. For this, Python was used alongside the Behave framework to implement the test cases described in the "Feature files."
Many of the members of the QA team, who were also involved in the SIT project, were unfamiliar with Python, and used my initial Python implementations as a reference on how to structure and implement the testing of the APIs.
I also worked closely with a developer during the initial stages of him developing a new API to write test cases for the API prior to its deployment. We implemented an effective Behavior-Driven development model for this API, and were able to catch and resolve bugs early on, and ensured all of the expected functionality was implemented. This ultimately allowed for quicker deployment of the API and less time spent in QA testing.
By the time I had stepped away from SIT, I had written close to 100 different test scenarios for 45 different endpoints, including positive, negative, and edge case testing.
Other Responsibilities
Throughout my Co-Op, I also had several other tasks and responsibilities. In no particular order, here is a list of other work I completed:
- Fixed a number of bugs in the APIs that were discovered by the SIT efforts
- Developed a load/performance tester for 2 distinct APIs utilizing Scala and the Gatling framework
- Added a new end point, along with a new CassandraDB table, to an existing API to provision access rights to a set of users
- Added a new endpoint which converts incoming queries with any combination of datetime or epoch seconds parameters into epoch milliseconds
- Developed an InfluxDB backup and restore script which can add new tag columns without losing data (InfluxDB does not natively support this)
As an auditor, my responsibilities were to join meetings and discussions with Comcast stakeholders and technology owners to ensure compliance with Comcast policies and industry standards.
Being as this was a technology auditing positioned, the team I was a part of focused on the technology policies. Some of the policies we were ensuring compliance against include:
- Change Management: This was to ensure that there are procedures in place for changes to the codebase. The changes must first be approved by a different entity prior to integration, and rollback procedures are in place in case of a bad merge.
- Data Protection: Sensitive data must be encrypted and anonymized where applicable.
- Access Control: User access should consistently be pruned to ensure only access that is necessary is provisioned, especially when a change of position occurs.
Through this position, I got a glimpse of how Software Engineering teams function in a corporate environment. There are fairly well structured two-week Agile sprints, which help accelerate development efforts and minimize unnecessary down-time. This was a stark contrast to what I had experienced in the classroom at that time, where a software project took months to prepare documentation and requirements for, and create estimates far in advance that were rather baseless.
This realization motivated me to seek a Software Engineering position for my next Co-Op.
